As an Amazon Associate I earn from qualifying purchases.
Chances are that if you are not from Mexico, New Mexico or Texas, you aren’t familiar with carne guisada.
In Mexico there is an entire category of taco fillings called guisados, which are all basically thick stews you can eat with a tortilla. If you have not yet seen The Taco Chronicles on Netflix, you are missing out: There’s a whole episode on guisados, which, incidentally, are pronounced “gee-SAH-dohs.”
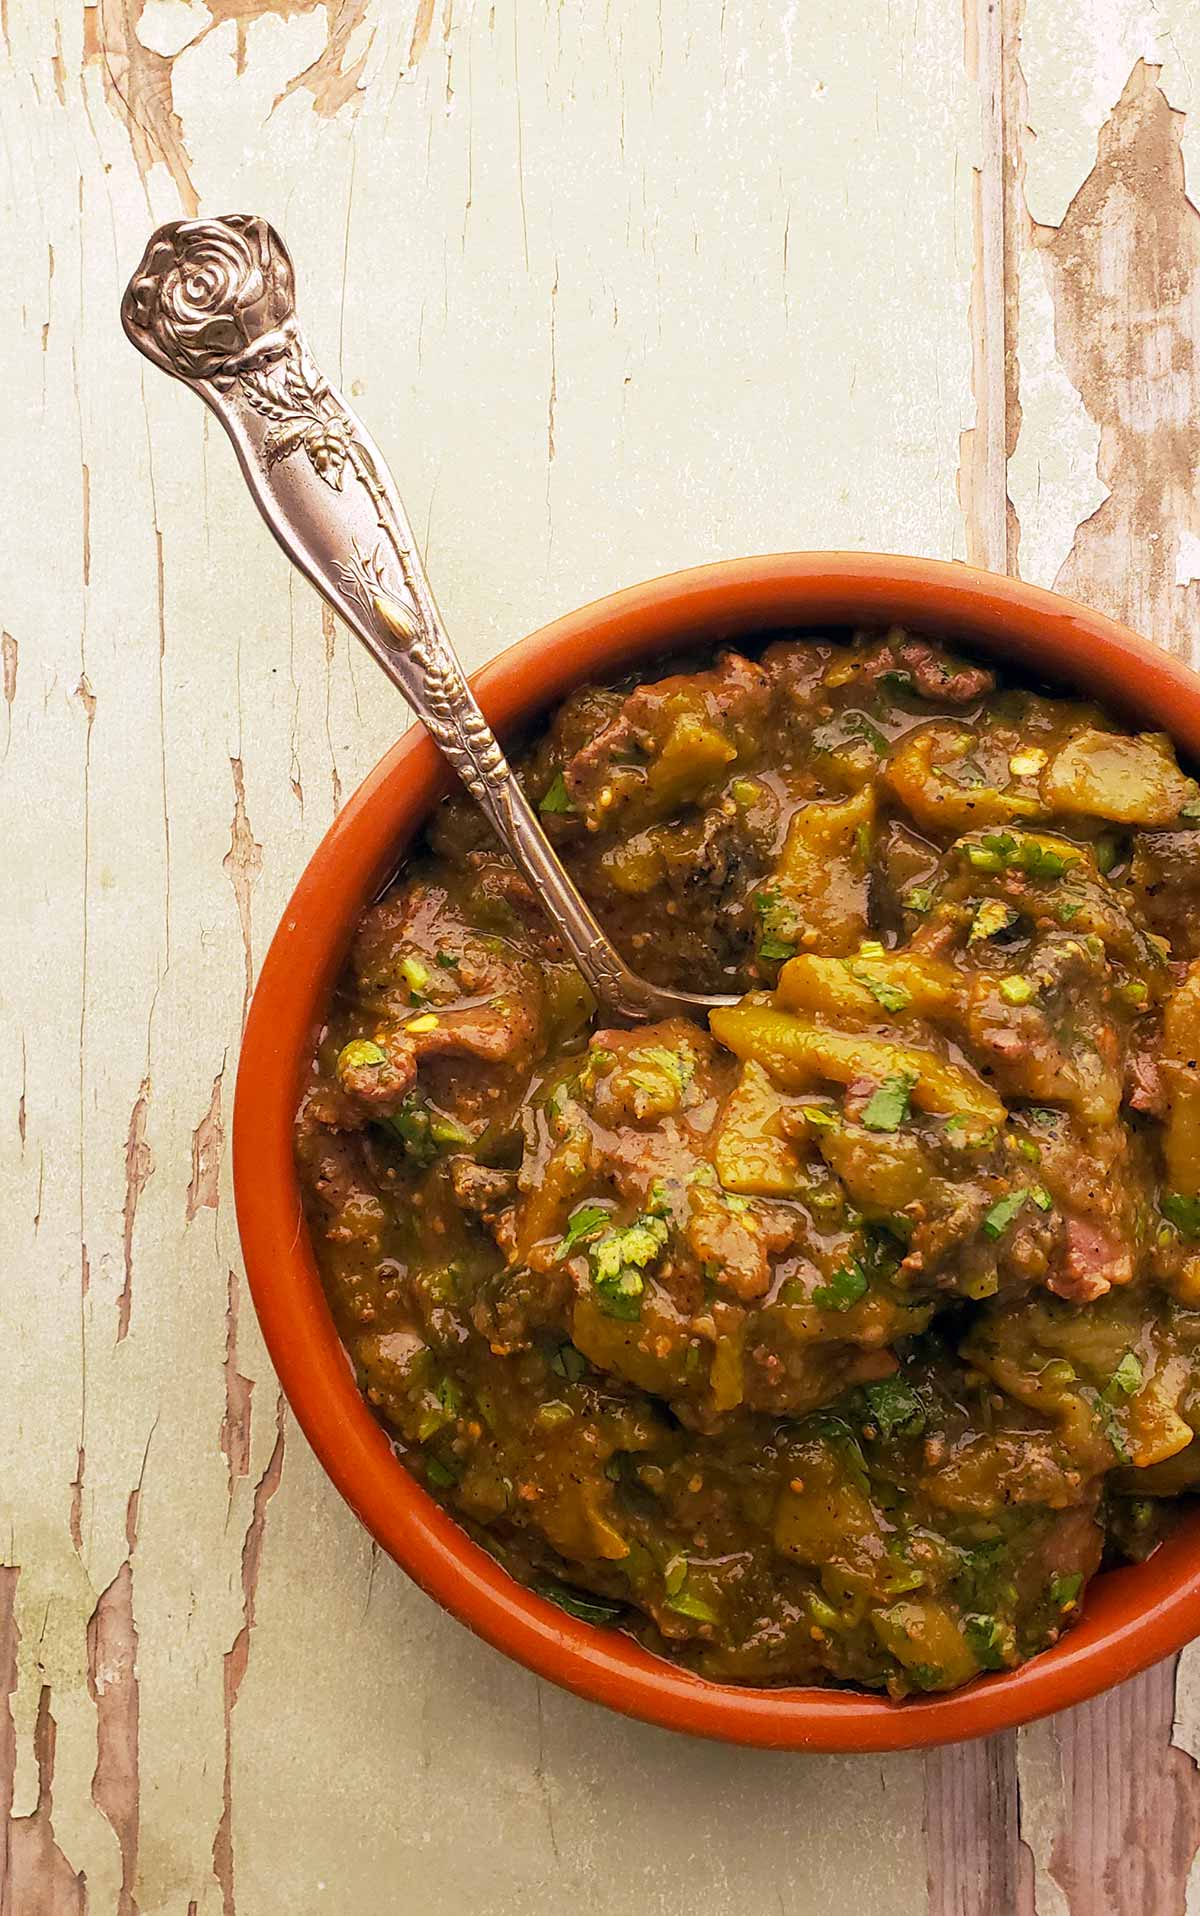
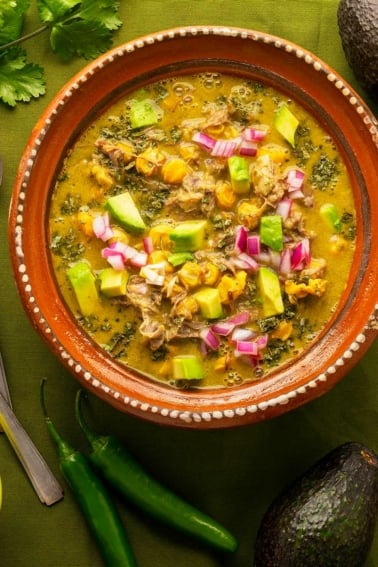
Texas has its own versions of carne guisada, and you will see it made with venison pretty often, at least in people’s homes. This is how I make carne guisada.
It’s origins are the quasi-famous caldillo durangueño, the signature dish of the state of Durango in Mexico. It’s normally made with chiles pasado, which I happen to make, tomatillos or tomatoes, broth, onions, garlic and either fresh or dried red meat, beef rump or carne seca that has been rehydrated.
Typically caldillo durangueño is a brothy stew, but if you let it cook down it becomes a thicker guisado.
Keep in mind that there is no absolute need to go through the labor of roasting, seeding, peeling and then drying your poblano or Hatch (Anaheim) chiles just to make this recipe. You can of course skip the drying step. But there is a noticeable difference between rehydrated chiles and fresh, and I like to mix the two here. It’s up to you.
As for your tortilla choices, up to you. This is a norteño recipe, so homemade flour tortillas are totally appropriate here. But of course corn tortillas are wonderful, too.
There is one trick I use for the venison, or really whatever meat you use. When you cut it, use a piece of meat that has a definite grain to it. I like the hind leg roasts on a deer. Then, slice big chunks across that grain, then keep whittling the pieces down into taco-sized chunks, again against the grain. Doing this speeds up your cooking time and will result in meat you can bite easily without it pulling out of your tortillas.
Poblanos are a great choice for the green chile here, as are the various Anaheim/Hatch style chiles. My advice is to use mostly poblanos, then some hot Hatch chiles to get the heat to where you like it. If you are not familiar with the procedure to roast, peel, seed and stem your chiles, here is an excellent tutorial.
Once made, your carne guisada will keep in the fridge a week, and it can be both frozen and pressure canned. I do like this canned, so you can have wonderful tacos on a moment’s notice.
Venison Carne Guisada
Ingredients
- 3 tablespoons lard or vegetable oil
- 1 to 2 pounds venison roast, sliced and cut into small pieces (see above)
- 1 teaspoon ground cumin
- Salt
- 2 large white or yellow onions, quartered
- 4 cloves garlic, unpeeled
- 1/2 pound tomatillos, husked and halved
- 1 teaspoon dried sage
- 1 quart venison or beef broth
- 8 to 12 poblano, Hatch or Anaheim chiles, roasted, seeded, peeled and cut into pieces
- 1/2 cup chopped fresh cilantro
Instructions
- Heat the lard in a Dutch oven or other large, lidded pot over high heat. When it is just barely smoking, add the venison and stir well. Sear the venison well. If it gives off a lot of water, just keep searing it until the water boils away. While this is happening, mix in the salt and cumin.
- Meanwhile, char the onion, garlic and tomatillos either under a broiler or on a comal or cast iron frying pan. You want some blackening. Roughly chop the onion and put it, the tomatillos, and the garlic (peel it first), into a blender with the sage. Puree this, adding broth as needed.
- Add the contents of the blender to the pot and stir well. Pour broth into the blender to get all the good bits left there, and pour that in the pot. If by chance you happened to have used chiles pasado and rehydrated them, pour some of the rehydrating water into the pot, too. At the start, everything should be rather thin. Bring this to a simmer and let it cook, stirring occasionally, for 1 hour.
- After 1 hour, add the green chiles and continue to simmer until the meat is tender. You can eat this as a stew, or continue to cook it down until thickened, in which case you can eat it as a guisado on tortillas.
Nutrition
Nutrition information is automatically calculated, so should only be used as an approximation.

I have made this several times and it is a really fantastic recipe. Properly browning the meat is really important. I could taste the difference when I made it quickly in an instant pot, versus when I took the time to do it properly in my dutch oven.
Second time making this with moose. Fantastic!! I made a 3x batch and canned most of it for later.
Excellent dish! Loved it enough the first time that I’d like to preserve a bunch. For pressure canning, would 60 minutes for pints and 75 for quarts be the suggestion?
Zachary: Follow the USDA guidelines for beef stew. I think that’s 90 or 100 minutes for quarts.
Another solid recipe. Enough for stew tonight and to cook the rest down for Tacos this week
Hey Hank, Question: in this recipe is the cilantro just for topping or is it to be added to the pot while cooking?
Lolly: Either. I usually add it about 5 minutes before I serve.
I’ve made lots of different tomatillo-chile-meat stews over the years and this is one of the best!
All I can say is…DELICIOUS!
Using the proportions for 6 people, the night before, I soaked one dried Pasilla-Ancho pepper and started defrosting a nice, 1 lb. 12 oz. very grainy, flank-like Venison sirloin roast. In the morning, with the help of my husband, we blister roasted 9 Anaheim chili peppers and 1 Poblano (this is what we had and were able to get at the store). The store was out of tomatillos (it’s summer in California?!) so I used our garden fresh tomatoes as your option. We followed your recipe to a T and then let it simmer for 4 hours while stirring occasionally, then put the pot over a diffuser and cooked another 2 hours, partially covered until the mixture was thick and juicy and perfect to put into a taco. The meat was super tender and the rich, blended flavors could only be achieved through cooking on a stove top or oven roasted environment through slow evaporation. Spooned onto fresh flame-warmed corn/flour taco sized tortillas with a little grated Dubliner cheddar cheese (I would have used Cojita or Monterey Jack if we had had it) and sprinkled with fresh chopped cilantro. It was amazing! Thank you for this fabulous, authentic tasting recipe…it’s a keeper!