As an Amazon Associate I earn from qualifying purchases.
I have been making elderberry syrup at home for decades, mostly as a base for drinks or sauces, but it is also good for you. What follows is my elderberry syrup recipe, tested over nearly 20 years.
My elderberry syrup recipe developed out of a system I’ve used all my adult life for preserving berries: Juice them, add an equal proportion of sugar to make a syrup, and use that shelf stable syrup all year for sauces, glazes, to make sorbet or ice cream, or just to add to soda water for a nice drink.
That said, most people make elderberry syrup for medical reasons. Many studies suggest that it can help your immune system, and elderberry has been used as medicine by more or less every culture that has the plant growing in its environment, from Native Americans to Europeans to northern Asia.
Finding Elderberries
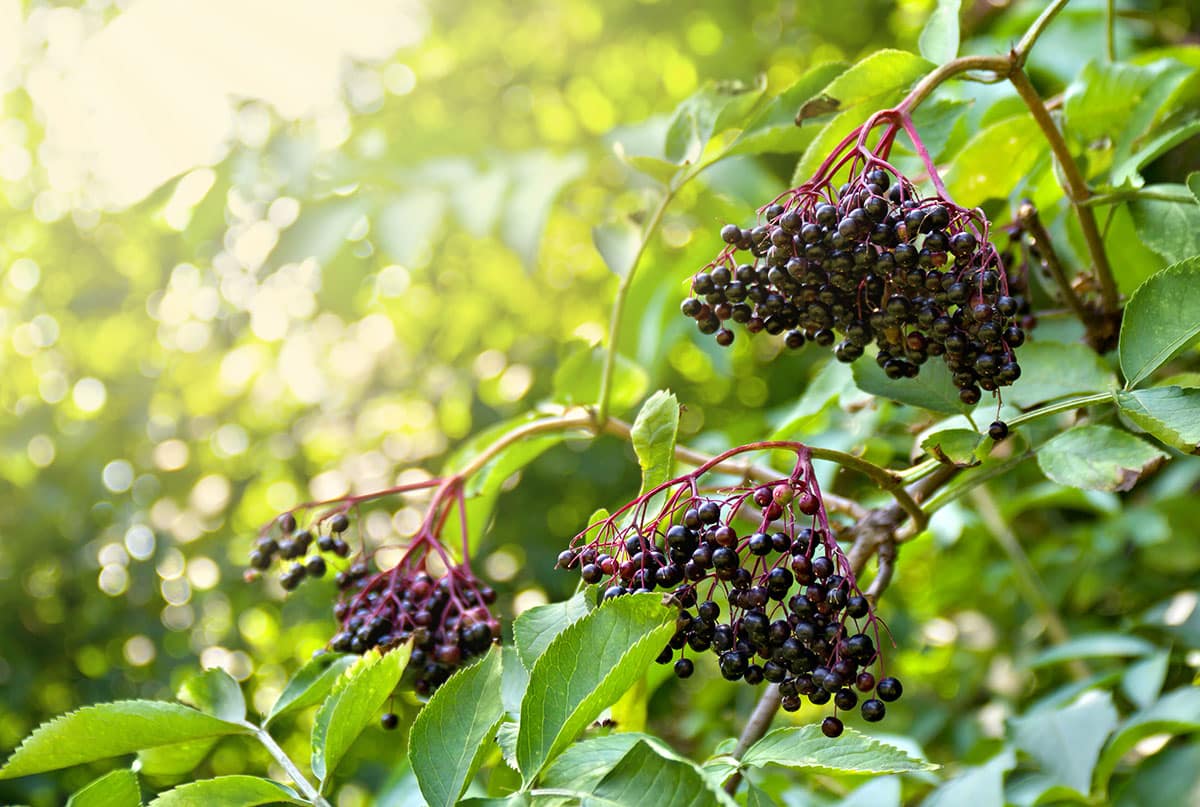
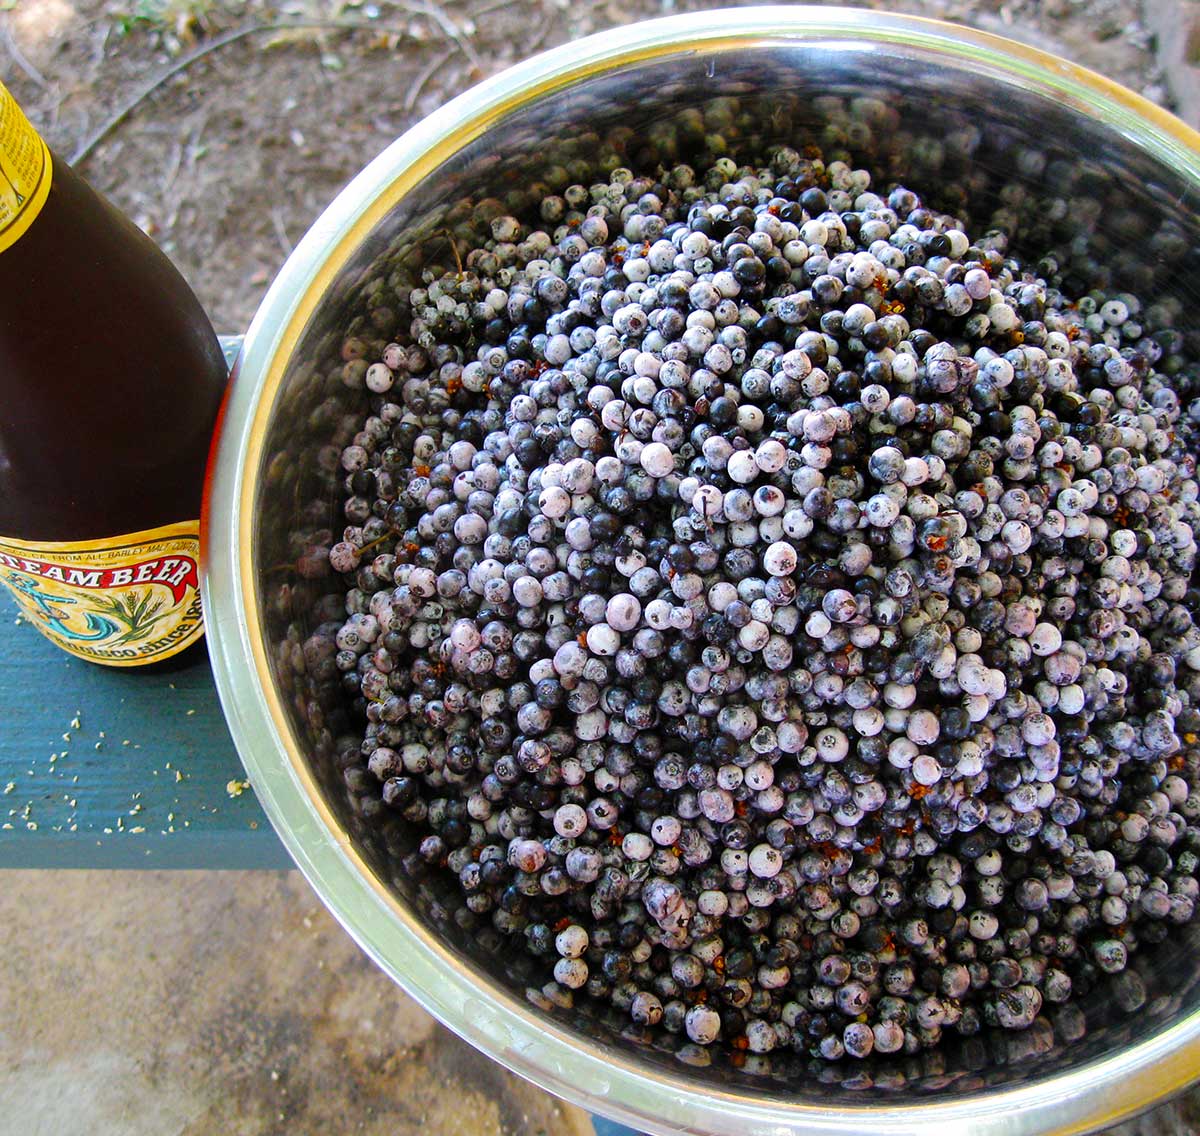
Keep in mind that my elderberry syrup recipe uses blue elderberries, which are Sambucus nigra subspecies caerulea. That’s what I have near me. Black elderberry is more widespread, and is the main species used to make elderberry syrup. I know of no one who uses red elderberry for making syrup.
You can find wild elderberry plants all over the West, starting in pockets in New Mexico and growing increasingly common as you head to the Pacific, as well as all over the eastern part of the United States and Canada, to about the Great Plains. It’s all over Europe, too.
Where I live in Northern California, they start coming ripe at the end of May, and depending on what state or province you live in you can find them somewhere all the way into November. A tip on picking ripe elderberries: The stems turn red. Ripe berries with green stems still have a little ways to go.
Sometimes you can find ripe elderberries at farmer’s markets, although it’s rare.
Recipes that Use Elderberry Syrup
Most people use elderberry syrup as a sort of medicine, “taking” a spoonful a day or twice a day or somesuch. That’s fine, but I don’t make elderberry syrup for that. I use it liberally.
It’s so versatile. Uses for elderberry syrup include:
- Homemade soda base. Add a glug of syrup to a glass with ice, then top with club soda or seltzer water. Super good!
- A mixer for cocktails. I’ve seen elderberry syrup added to gin, dropped into a martini, used in a whiskey sour, etc. My favorite? A splash in silver tequila, with a bit of lime.
- A base for elderberry ice cream, which is amazing.
- Use it as a drizzle over other ice creams, or as a glaze for poultry.
- Elderberry syrup is also great in a classic Cumberland sauce.
- As a flavoring for panna cotta or creme caramel.
- Pour it over pancakes!
The possibilities are pretty endless. And since elderberries grow in most of the 50 states, as well as in Canada and most of Europe, there’s no reason you can’t go outside and get some yourself.

My Elderberry Syrup Recipe
Making your syrup seems pretty intuitive. I mean, all you need are elderberries and sugar, right? Well, yes. But my method for making the syrup is different from most others.
Other recipes ask that you cook your elderberries, mash them with a potato masher and let them drain through a jelly bag. There is a problem with this. You will never break all the berries with this method, and, given that it is a time-consuming and persnickety business to take all those elderberries off their stems — the stems are mildly toxic, by the way — you really want as much juice as you can get.
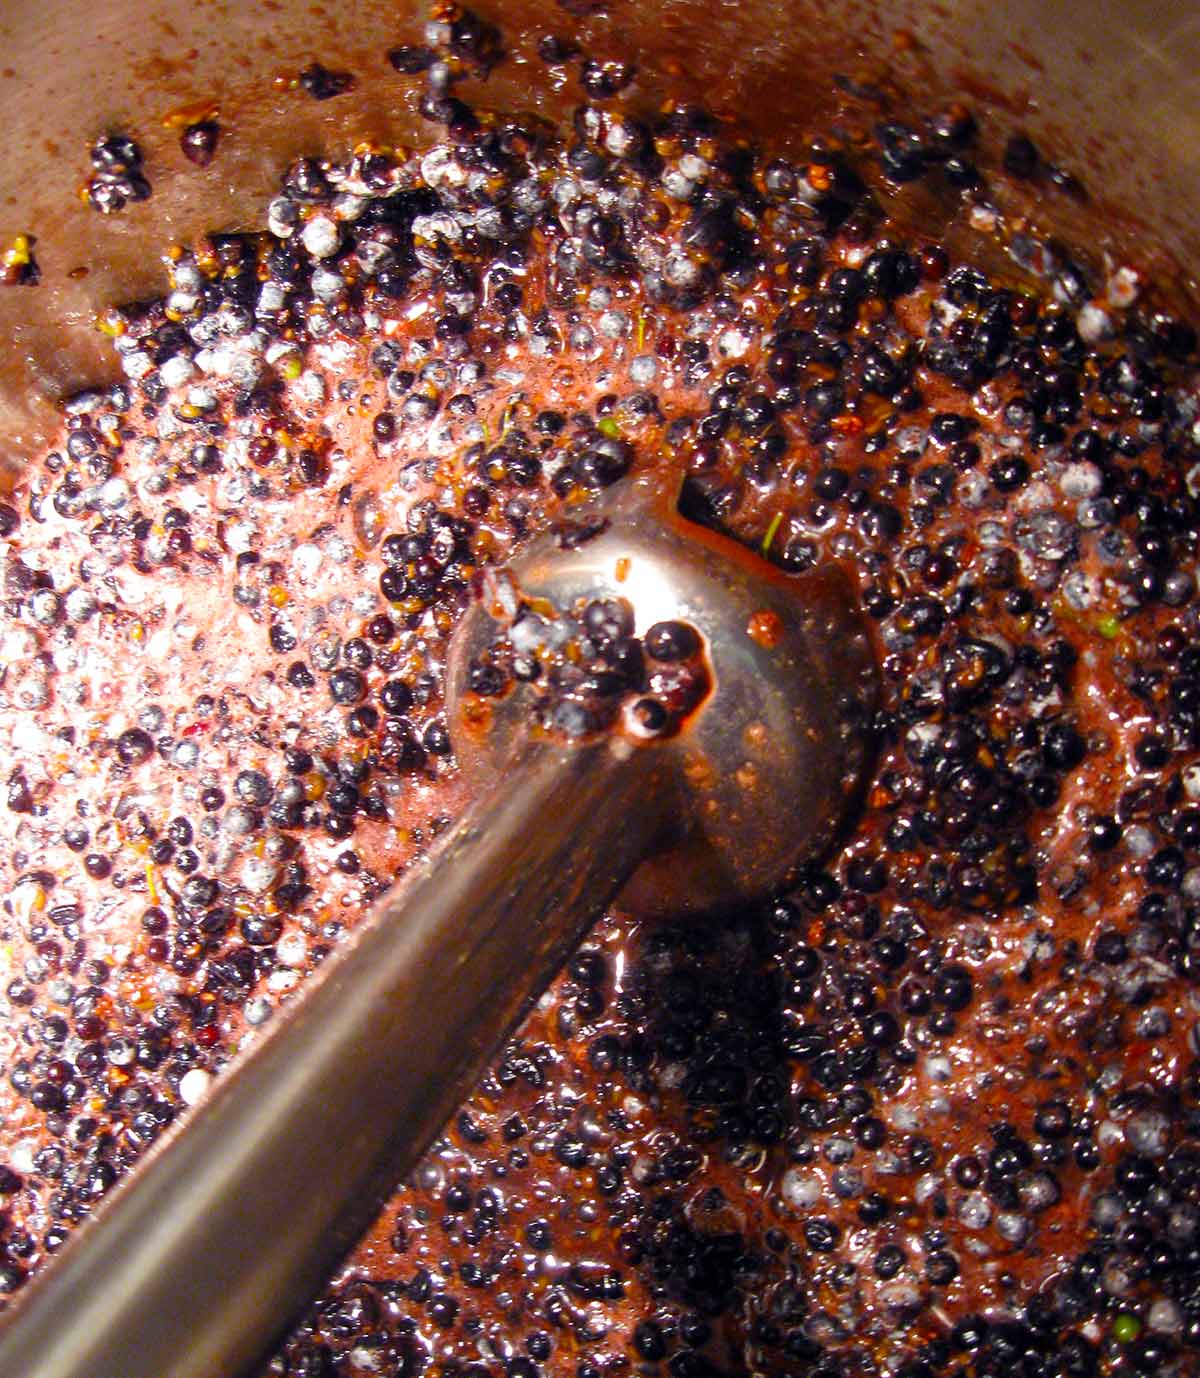
A better way is to use an immersion blender and a food mill to make short work of our little blue friends.
Works so well you can get twice as much yield from your elderberries. Twice, you say? Yes, twice. Another elderberry syrup recipe may require you to add water to your boiling berries. I suppose that works fine, but with my method you don’t have to water down your berries to make a sufficient amount of syrup — unless you are in a serious drought.
Do it this way and you will get 3+ pints of elderberry syrup from 3 pounds of elderberries, as opposed to 2 pints from 2 pounds of elderberries with another 2 to 4 cups of water thrown in. Believe me, this is a huge flavor difference.
When they are on their stems, it is roughly equivalent to half a paper grocery bag. On a good year, harvesting that can take you all of 10 minutes to harvest. Destemming, however, will take an hour — if you are good at it.
After you have an elderberry mash, you will want to do one of two things: Strain it through a big jelly bag, or heat it up and then run it through the fine plate on a food mill, which removes the seeds.
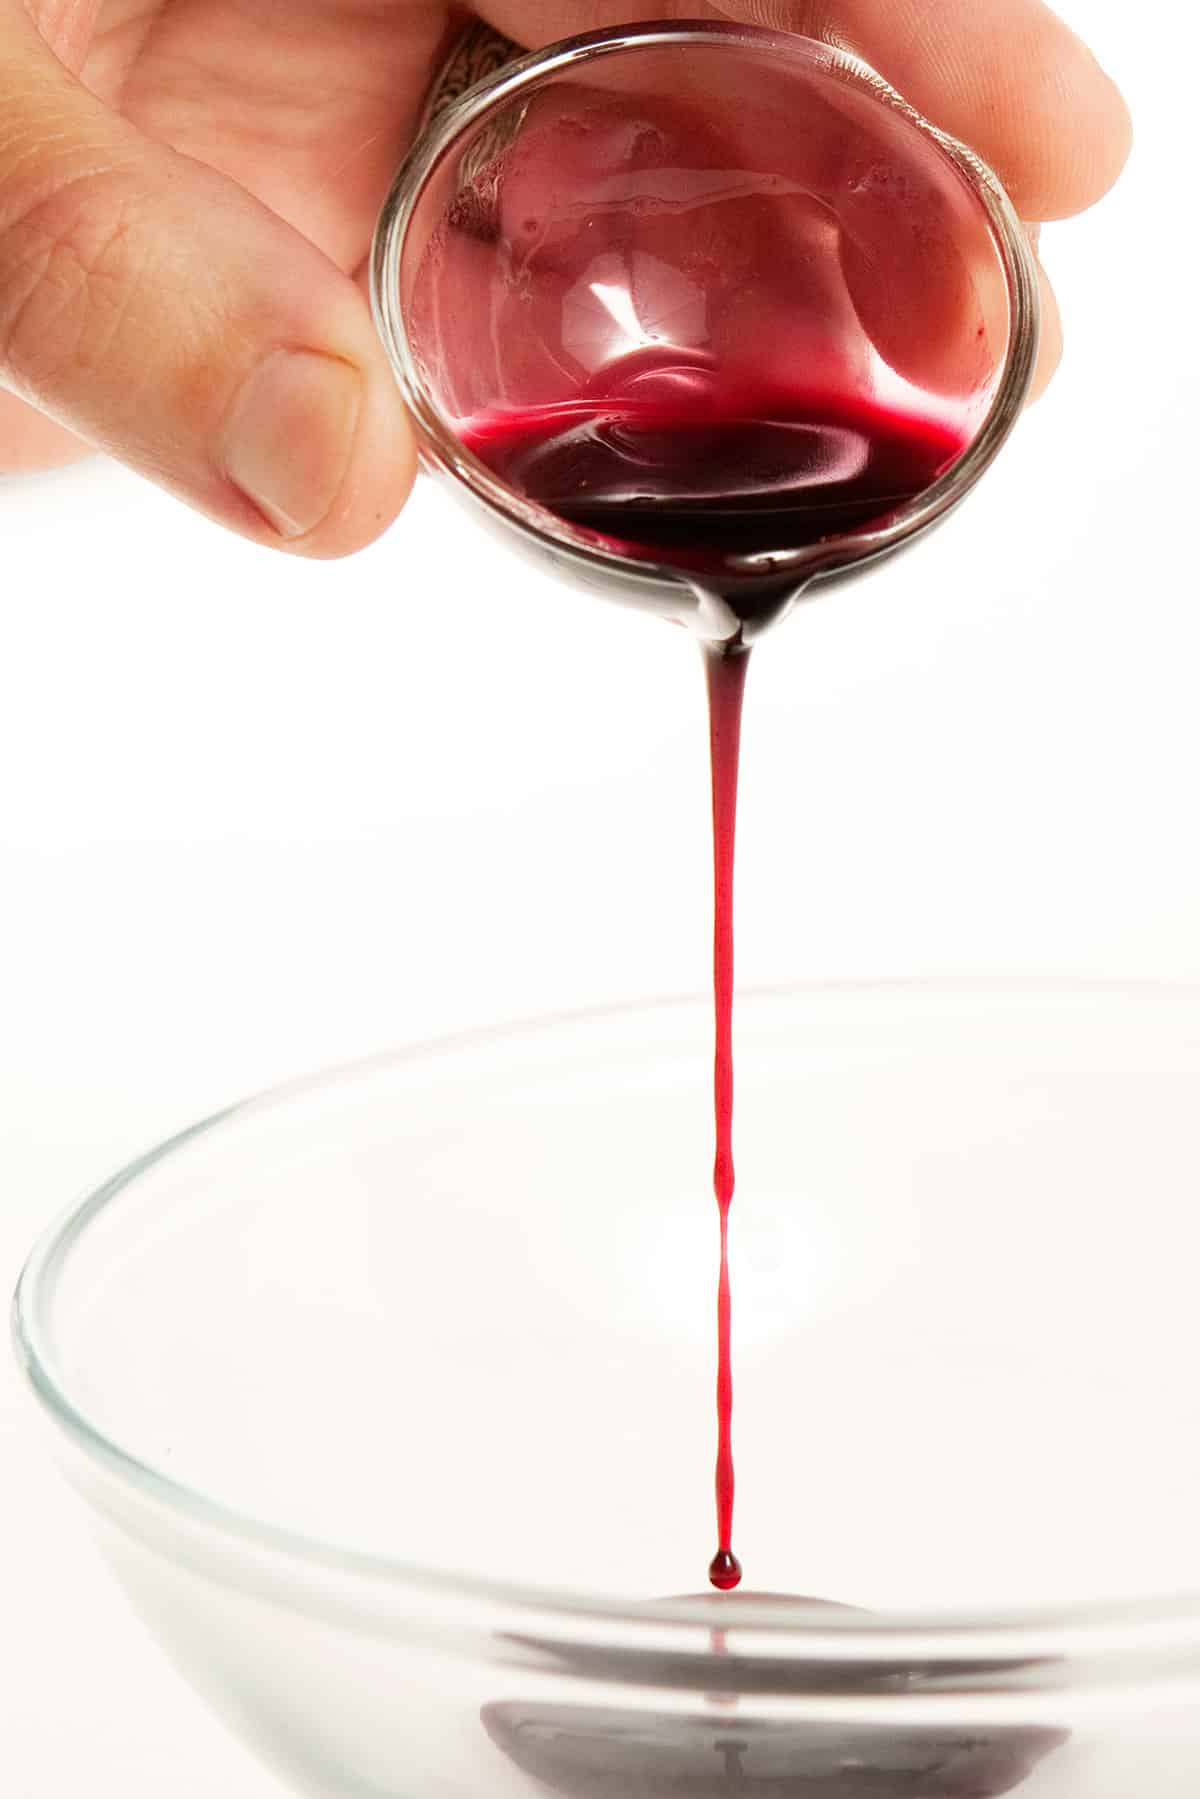
I do the food mill method, then move the thick liquid to a fine mesh strainer to remove most of the pulp. I do this because I can make elderberry syrup in an hour that way, rather than the overnight drip, drip, drip with the jelly bag method.
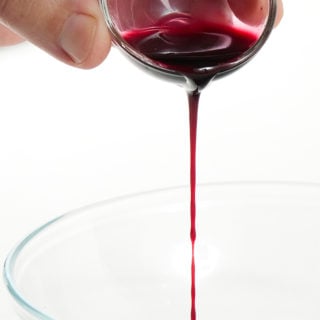
Once you have elderberry juice, measure it, and an equal volume of sugar, bring this to a boil and you now have elderberry syrup. Can you use less sugar? Absolutely, but the syrup won’t be shelf stable; it will ferment, and then you will have elderberry wine. But not good elderberry wine.
Can you use honey or some other sweetener? Sure, but the proportion of sugar to juice will be off, and I can’t guarantee your results.
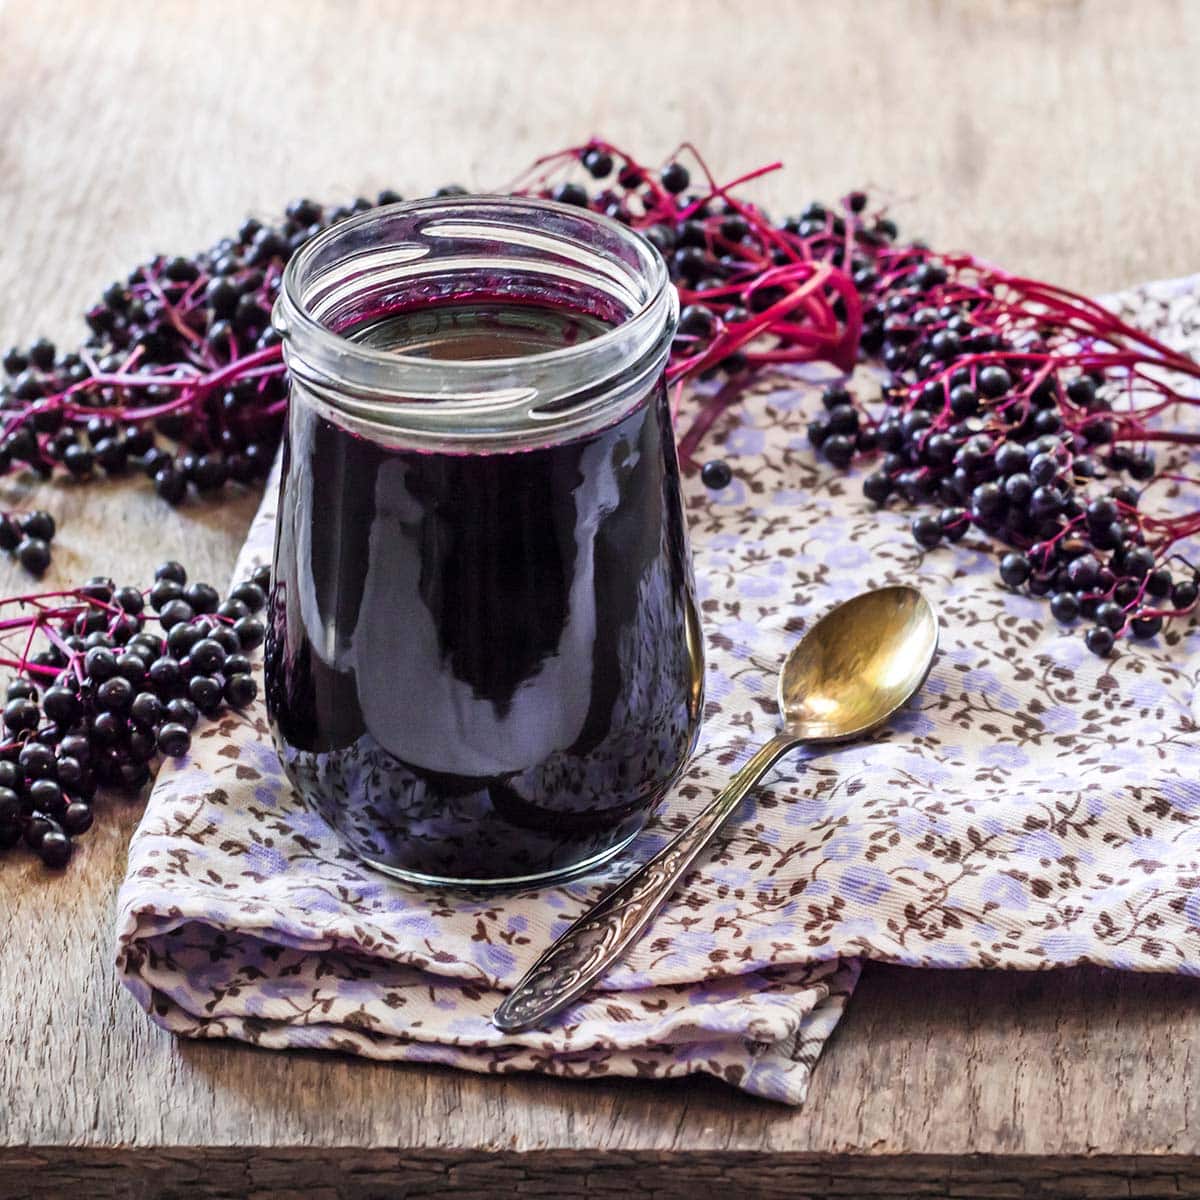
Storing Elderberry Syrup
As I mentioned, this elderberry syrup recipe is shelf stable. Still, I keep it in the fridge, where it has literally lasted three years or more. I’m not joking.
No need to can this because of all the sugar. I know people who keep their syrup in the pantry and theirs has molded after a year or so, so the higher temperature will, eventually, cause you issues.
Elderberry Syrup
Ingredients
- 3 pounds elderberries destemmed
- 4 cups sugar
Instructions
- You will need to remove the berries from the stems; elderberry stems are toxic. (I go through some tricks on destemming elderberries here.) It should take you about 45 minutes to an hour to destem 3 pounds of elderberries, which equates to about a half a normal paper grocery bag.
- At this point you can empty your berries into a large bowl of ice water. Weird debris will float, like dead flower husks, bugs, etc. Pour this off.
- Pour the elderberries into a large pot and either mash them thoroughly with a potato masher, or, better yet, with an immersion blender. Only break up the berries for a few seconds using the immersion blender, and use it on low setting. You don't want to grind up the seeds, which are bitter.
- Bring the elderberries to a boil, stirring often. Now, if you are using a food mill, set it up with its finest plate and pour the elderberries into it. Run the food mill until the mash is pretty dry, then squeeze out any remaining elderberry juice. You should have a little more than 1 quart. Pour the juice through your finest mesh sieve to catch any stray seeds or pulp.
- If you are using the jelly bag method, mash the berries again after they've boiled, then pour them into a jelly bag suspended over a large bowl. Let this drain up to overnight. You should have a little less than 1 quart. You don't need to strain the juice the way you do with the food mill method.
- Return the juice to the (cleaned) pot and add an equal volume of sugar, normally about 4 cups. Bring to a boil until it froths, skim the froth, then turn off the heat and pour into clean jars. Always use a new canning lid when you are making this syrup, unless you plan on eating it in the next few weeks. Seal the jars and let stand until the lids pop. They will keep for a year on the shelf or in the fridge.
Notes
Nutrition
Nutrition information is automatically calculated, so should only be used as an approximation.


Don’t eat the seeds raw! They will make you sick. I did that last year with a handful on some vanilla ice cream and had the runs for a few hours and a very upset stomach for about 12-hrs. I had read an article that said you could eat them raw (skin and pulp) and didn’t see later where they said , “but not the seeds”. That was a big mistake!
Like your site – here in the UK been making elderberry syrup for years, I agree with Marketa, the stems are not toxic if cooked in the small amounts that you leave on. I take off as much stem as I can but cook the berries on the fine stems if necessary. Its the raw berries that are mildly toxic and can cause stomach upsets in adults.
We also use blender, and then strain the mix through a sieve. We freeze the berries first and then they come off the stems lickedy split. I do need a slightly finer sieve to get the smallest seeds; until I get it I have to run it through a jelly bag.
Ash: Absolutely. Two things: First, this is a cooked syrup. Any cyanide in the seeds — which isn’t much with blue elder — is rendered harmless by cooking. Second, if you read the recipe closely, you will see I use an immersion blender, not a regular blender, and certainly not a Vitamix. There is no way an immersion blender is going to break elderberry seeds.
Um, are you sure you want to blend them? I know someone who gave himself cyanide poisoning by throwing frozen elderberries into a vitamix. Since we don’t know if they were cooked or frozen previously it’s been a practice to avoid excessively mashing the seeds.
I make elderberry jam, not syrup, using 50% sugar and pectin. I find that a bit of lemon juice improves the taste. With whole berries I think it tastes best if the elderberries are less than half of the fruit, the rest being whatever I have available: strawberries, black currants, bird cherries, or cranberries. With filtered juice, the pure elderberry jam is good, but I still like to add a bit of lemon. Thanks for the ideas about frozen destemming and pre-blending the berries.
I can not believe I haven’t found you before now! great site! Caveman hubby just came home with about 2 gallons of elderberries and even cleaned them all! So I was like….”What do I do with elderberries???” I’m going to make this syrup and pork loin and elderberry chutney and… sky’s the limit. Thanks for the recipe!
I made this syrup and it turned out great! I have been able to make two batches of elderberry jelly and 7 jars of syrup all from one bounteous elderberry bush we found while out 4 wheeling.
I could NOT find my food mill, so i used a coffee press for the half batch i cooked up this morning.
Thank you so much for the recipe and tips! Here in northern CA, I planted three bushes a few years ago, and am now reaping the rewards. Frozen berry destemming works great, too! The berries hold up w/o losing much juice.
Oh yeah, elderberry syrup (w/ some sweetener) with champagne makes a great kir royale. Just saying, for all the food snobs out there.
I have made elderberry syrup for years. The branches are not toxic!! I cut the branches just above the berries. Rinse, put all in the juicer..Add sugar to the juice, slow boil for an hour. pour into pint jars and seal. I can’t keep it. The whole family loves it.
well if you get a fruit steamer you don’t have to worry about de-stemming the fruit.
Beautiful and well managed WordPress blog. Thank you for the interesting Elderberry Sirup recipe. Just recently my wife and I were learning a lot about the great health benefits of the elderberry, and started to make some research. We were looking for one for a while, but this is the one we like the best. I’ve been growing and selling Elderberry plants for a long time in my Nursery, but I never had the time to look deeper to it’s nutritional and health properties that this amazing plant has. But now we know.
Thanks once again for making it available.
Mike
Thanks for the elderberry recipes on this site, and usage suggestions. I just picked a ton of the berries a few days ago (two 13-gallon garbage bags each about 1/3 third full of berry bunches). This is my second year of dealing with elderberries. The easiest way I found to de-stem them last year is to throw the bags of berries into the deep freeze for a day or so. When I am ready to deal with them I take out a big bunch of them, put them into another plastic bag, and smack them against a table top or the kitchen counter top. Most of the berries fall off the stems into the bag. Then I dump them onto a jelly-roll pan and it is easy to scoop off piles of berries while leaving little and big twigs behind. I put the cleaned berries in another bag and into the freezer while I work on the rest of the remaining frozen berry bunches. It still takes time, but this way is not as fussy as trying to pick all the little stems off the berries when fresh. (I tried using a fork as many have recommended but got impatient.) After finishing the whole batch, I weighed out 3 pounds and put them into a large stockpot to simmer out the juices and followed a recipe for jelly. I will try the immersion blender technique/food mill this year. Thanks for the tip.
I really like your post on Elderberry Syrup. I just finished making 5 quarts of syrup from another recipe and I can see it’s real runny. I still have some in my freezer so will try your recipe with those. I also steam juice and recently put up 60 quarts. It has taken me 2 wks to get to this point. Last yr. I just gently pulled the berries off the stems but this yr. I took cookie sheets and large ss bowls and filled with berries then put in freezer for at least 4 hrs. Large bowls take over night. Rub between hands or with fingers and they fall right off. I have a fetish for elderberries and is hard for me to pass up any but I think I’m at my limit. All total, with my husbands help, we picked (6) 5 gal. buckets full. I also dried some in my solar dryer and they are really sweet. I’m anxious to try your recipe.
Alex: Sorry for the late reply, but yeah, they would have been good in early September. Now you will need to head into the high Sierra to get them. Look about 4-6000 feet right now.
Korri: Well, I have not idea. But I imagine if you follow your jelly recipe and then skip the pectin, you will be fine. Let me know how it turns out!
We have an elderberry tree in our front yard, just discovered last year. We used a steamer/juicer and made elderberry jelly. It’s wonderful. I would like to try your syrup recipe. I love using the steamer/juicer rather than going through the process of cooking, mashing, putting them through a food mill. Would I use the same ratio of juice to sugar that you have in your recipe if I did it this way? Thank you.
My 11 year old kid’s teacher has asked me to come up with edible wild foods for the 5th graders at various seasons this year. I am thinking of making elderberry
syrup to start. There are lots of elderberries around here in Sac–but are they still good to eat this late in the season?
Don’t know if you can find piloncillo in your local South-of-the-Border grocery store, but, MY, MY! what a taste treat of healthy sweets! For some of the best ever rhubarb sauce, berry syrups, marmalades, and whatever else calls for loads of sweetness, piloncillo is impossible to be beat! If it’s still not totally sweet enough, I also add a few pinches of Stivita brand stevia, but usually, just the piloncillo is sufficient.
Today, along with the smoked salmon back I made soup stock and salad bits from, I put fresh-picked rasp and wild blackberries in a sauce pan – no added water – and a small cone of solid piloncillo [Pilopncillo is solidified, dehydrated raw sugar cane juice], and ft it to simmer at tthe lowest possible heat for about four hours. The berry juice separated, and the gentle heat and liquid dissolved the piloncillo cone, and I finished it with a couple of tablespoons of corn starch, after thoroughly breaking all the berry kernels.
Yummy!
Hi – just wanted to say your post for elderberry syrup is beautiful and it inspired me to look past the ripening glut of tomatoes that need processing to a bush (cultivated not wild) in the back garden brimming with ripe berries (I’m in Canada at the eastern tip of Lake Ontario). So I picked some and used the tines of a fork to gently rake the berries from the stems – worked well and was able to de stem in a half hour. Your book is at the top of my wish list and so shortly will be on my kitchen counter. Best of luck with your book tour.