As an Amazon Associate I earn from qualifying purchases.
I have been making elderberry syrup at home for decades, mostly as a base for drinks or sauces, but it is also good for you. What follows is my elderberry syrup recipe, tested over nearly 20 years.
My elderberry syrup recipe developed out of a system I’ve used all my adult life for preserving berries: Juice them, add an equal proportion of sugar to make a syrup, and use that shelf stable syrup all year for sauces, glazes, to make sorbet or ice cream, or just to add to soda water for a nice drink.
That said, most people make elderberry syrup for medical reasons. Many studies suggest that it can help your immune system, and elderberry has been used as medicine by more or less every culture that has the plant growing in its environment, from Native Americans to Europeans to northern Asia.
Finding Elderberries
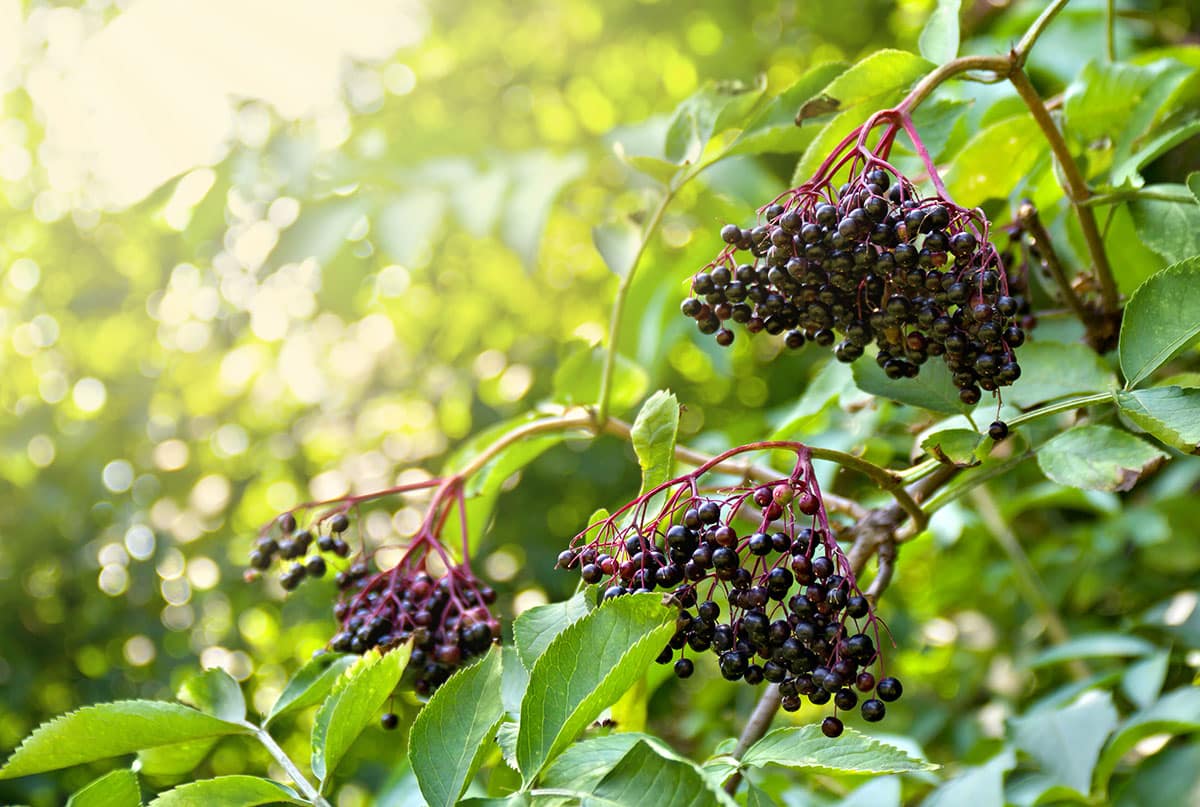
Keep in mind that my elderberry syrup recipe uses blue elderberries, which are Sambucus nigra subspecies caerulea. That’s what I have near me. Black elderberry is more widespread, and is the main species used to make elderberry syrup. I know of no one who uses red elderberry for making syrup.
You can find wild elderberry plants all over the West, starting in pockets in New Mexico and growing increasingly common as you head to the Pacific, as well as all over the eastern part of the United States and Canada, to about the Great Plains. It’s all over Europe, too.
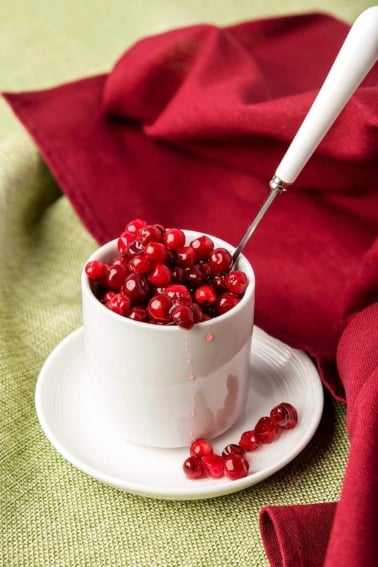
Where I live in Northern California, they start coming ripe at the end of May, and depending on what state or province you live in you can find them somewhere all the way into November. A tip on picking ripe elderberries: The stems turn red. Ripe berries with green stems still have a little ways to go.
Sometimes you can find ripe elderberries at farmer’s markets, although it’s rare.
Recipes that Use Elderberry Syrup
Most people use elderberry syrup as a sort of medicine, “taking” a spoonful a day or twice a day or somesuch. That’s fine, but I don’t make elderberry syrup for that. I use it liberally.
It’s so versatile. Uses for elderberry syrup include:
- Homemade soda base. Add a glug of syrup to a glass with ice, then top with club soda or seltzer water. Super good!
- A mixer for cocktails. I’ve seen elderberry syrup added to gin, dropped into a martini, used in a whiskey sour, etc. My favorite? A splash in silver tequila, with a bit of lime.
- A base for elderberry ice cream, which is amazing.
- Use it as a drizzle over other ice creams, or as a glaze for poultry.
- Elderberry syrup is also great in a classic Cumberland sauce.
- As a flavoring for panna cotta or creme caramel.
- Pour it over pancakes!
The possibilities are pretty endless. And since elderberries grow in most of the 50 states, as well as in Canada and most of Europe, there’s no reason you can’t go outside and get some yourself.
My Elderberry Syrup Recipe
Making your syrup seems pretty intuitive. I mean, all you need are elderberries and sugar, right? Well, yes. But my method for making the syrup is different from most others.
Other recipes ask that you cook your elderberries, mash them with a potato masher and let them drain through a jelly bag. There is a problem with this. You will never break all the berries with this method, and, given that it is a time-consuming and persnickety business to take all those elderberries off their stems — the stems are mildly toxic, by the way — you really want as much juice as you can get.
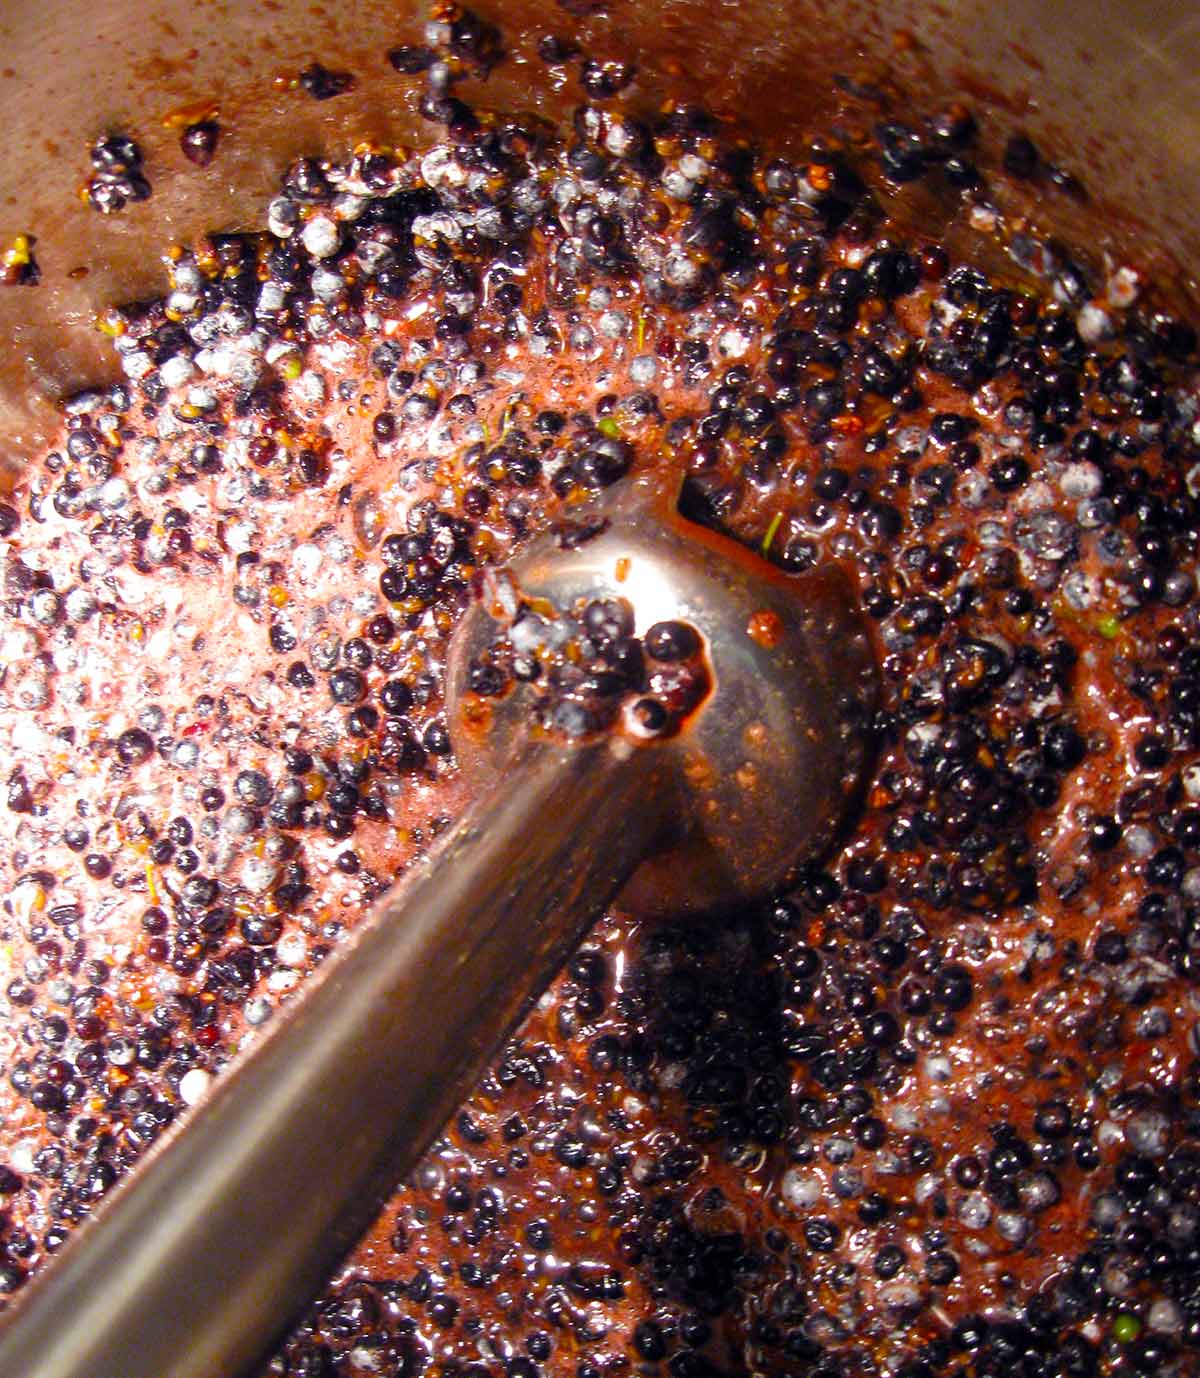
A better way is to use an immersion blender and a food mill to make short work of our little blue friends.
Works so well you can get twice as much yield from your elderberries. Twice, you say? Yes, twice. Another elderberry syrup recipe may require you to add water to your boiling berries. I suppose that works fine, but with my method you don’t have to water down your berries to make a sufficient amount of syrup — unless you are in a serious drought.
Do it this way and you will get 3+ pints of elderberry syrup from 3 pounds of elderberries, as opposed to 2 pints from 2 pounds of elderberries with another 2 to 4 cups of water thrown in. Believe me, this is a huge flavor difference.
When they are on their stems, it is roughly equivalent to half a paper grocery bag. On a good year, harvesting that can take you all of 10 minutes to harvest. Destemming, however, will take an hour — if you are good at it.
After you have an elderberry mash, you will want to do one of two things: Strain it through a big jelly bag, or heat it up and then run it through the fine plate on a food mill, which removes the seeds.
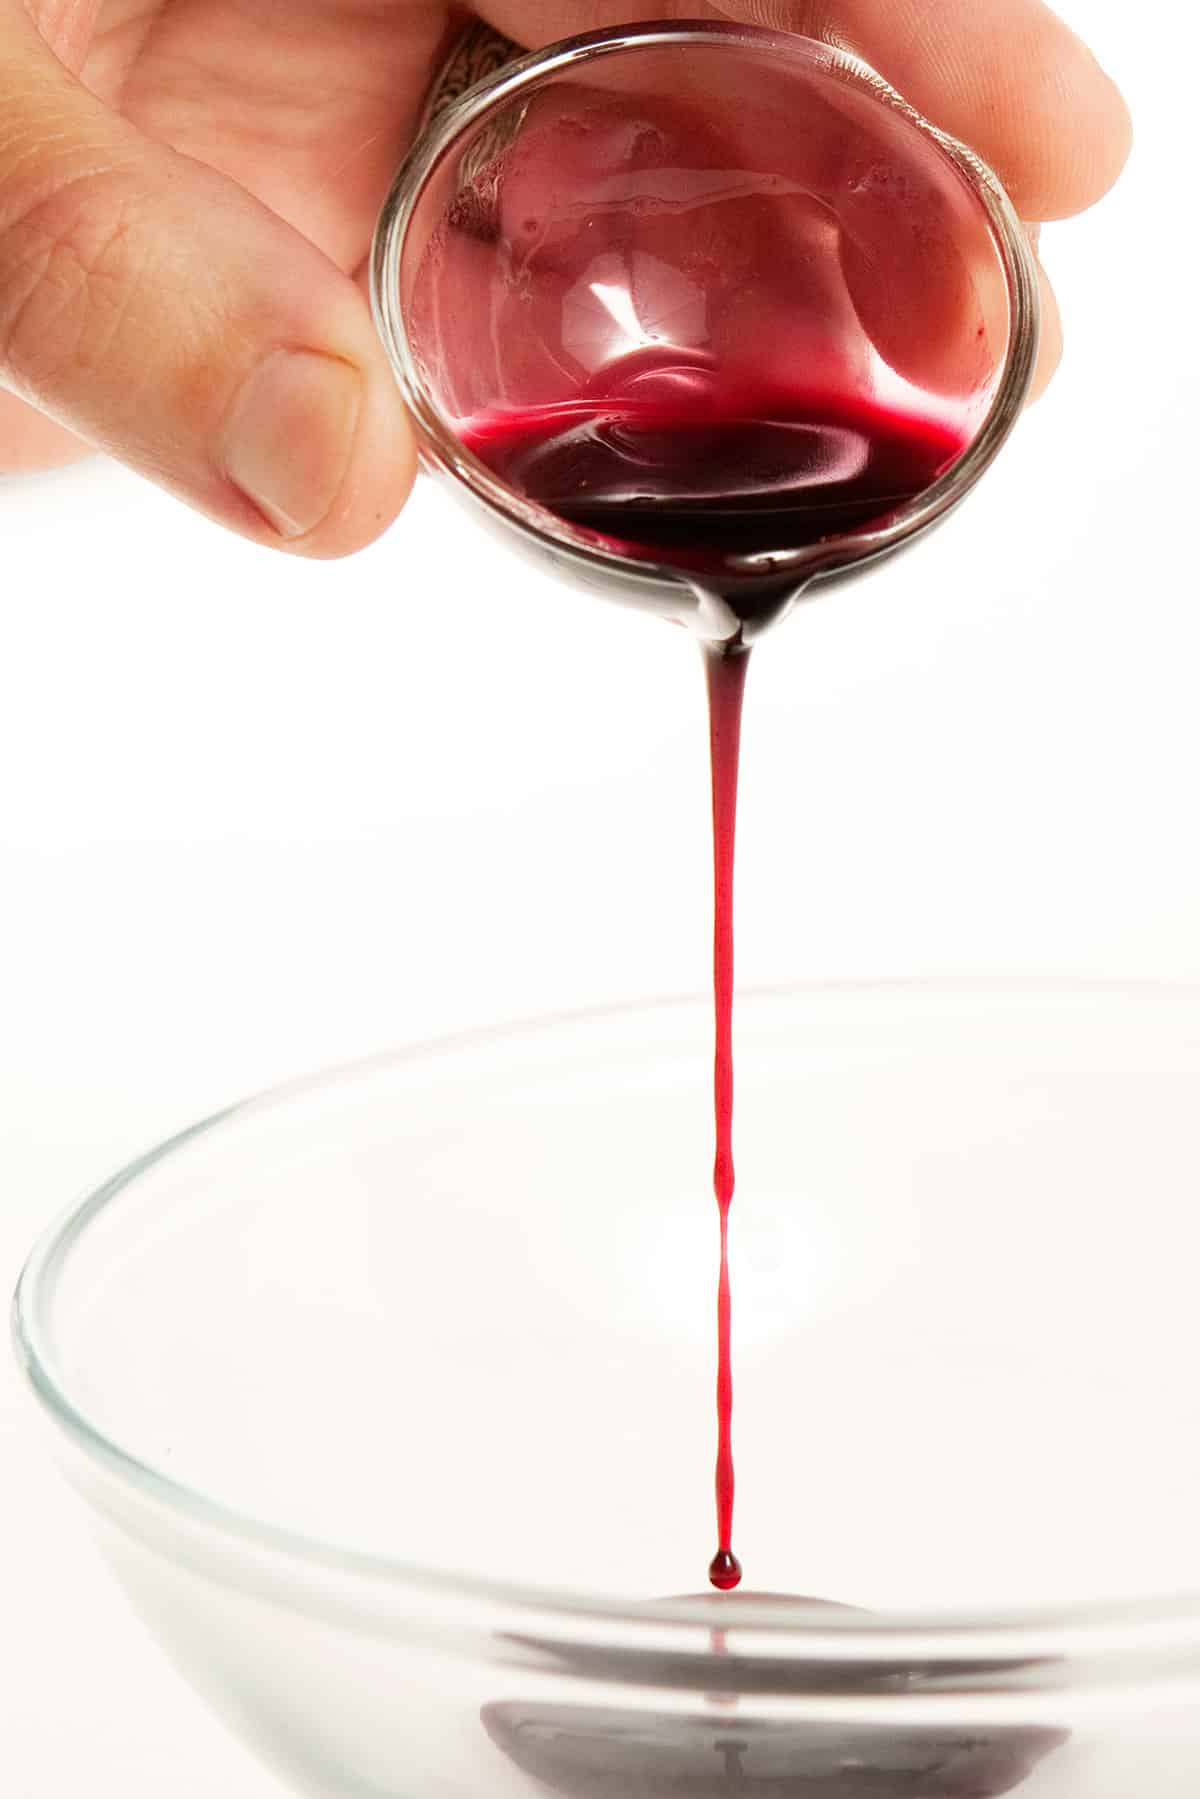
I do the food mill method, then move the thick liquid to a fine mesh strainer to remove most of the pulp. I do this because I can make elderberry syrup in an hour that way, rather than the overnight drip, drip, drip with the jelly bag method.
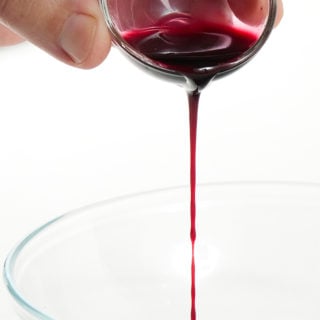
Once you have elderberry juice, measure it, and an equal volume of sugar, bring this to a boil and you now have elderberry syrup. Can you use less sugar? Absolutely, but the syrup won’t be shelf stable; it will ferment, and then you will have elderberry wine. But not good elderberry wine.
Can you use honey or some other sweetener? Sure, but the proportion of sugar to juice will be off, and I can’t guarantee your results.
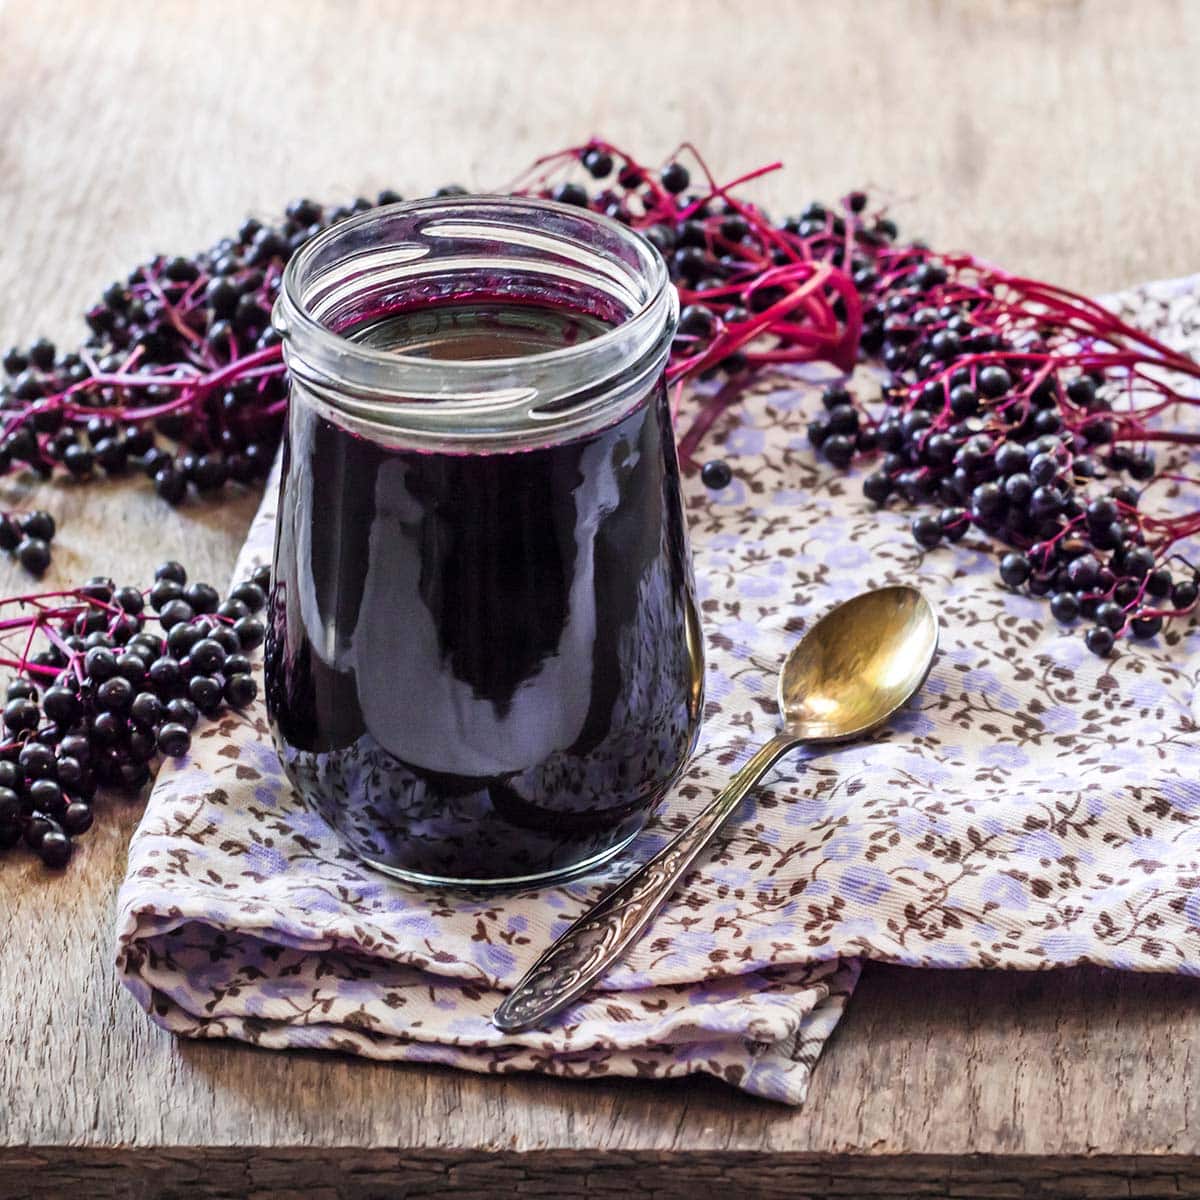
Storing Elderberry Syrup
As I mentioned, this elderberry syrup recipe is shelf stable. Still, I keep it in the fridge, where it has literally lasted three years or more. I’m not joking.
No need to can this because of all the sugar. I know people who keep their syrup in the pantry and theirs has molded after a year or so, so the higher temperature will, eventually, cause you issues.
Elderberry Syrup
Ingredients
- 3 pounds elderberries destemmed
- 4 cups sugar
Instructions
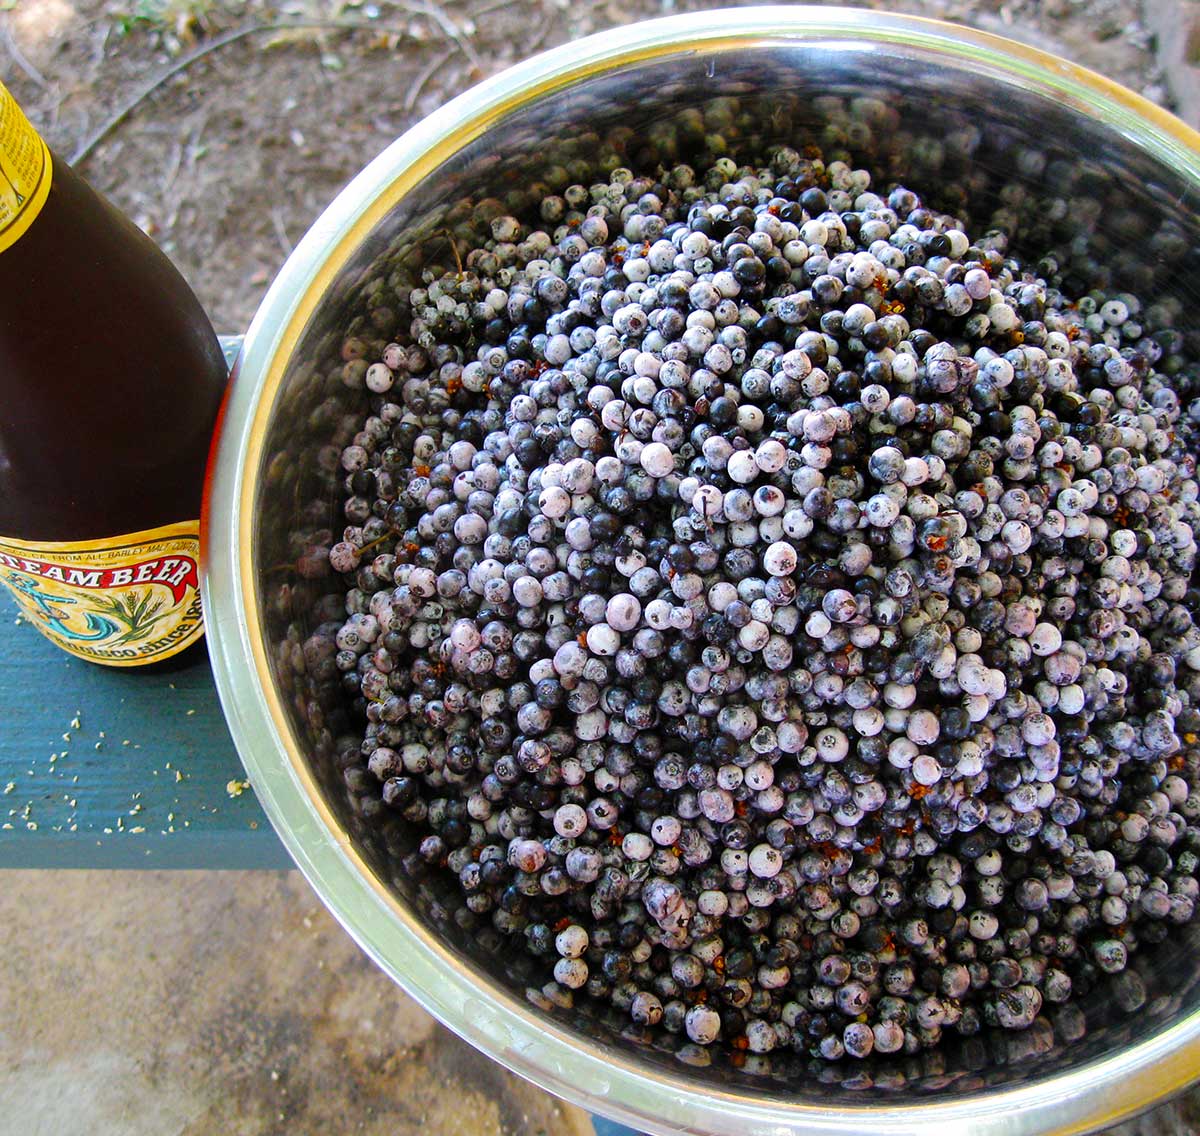
- You will need to remove the berries from the stems; elderberry stems are toxic. (I go through some tricks on destemming elderberries here.) It should take you about 45 minutes to an hour to destem 3 pounds of elderberries, which equates to about a half a normal paper grocery bag.
- At this point you can empty your berries into a large bowl of ice water. Weird debris will float, like dead flower husks, bugs, etc. Pour this off.
- Pour the elderberries into a large pot and either mash them thoroughly with a potato masher, or, better yet, with an immersion blender. Only break up the berries for a few seconds using the immersion blender, and use it on low setting. You don't want to grind up the seeds, which are bitter.
- Bring the elderberries to a boil, stirring often. Now, if you are using a food mill, set it up with its finest plate and pour the elderberries into it. Run the food mill until the mash is pretty dry, then squeeze out any remaining elderberry juice. You should have a little more than 1 quart. Pour the juice through your finest mesh sieve to catch any stray seeds or pulp.
- If you are using the jelly bag method, mash the berries again after they've boiled, then pour them into a jelly bag suspended over a large bowl. Let this drain up to overnight. You should have a little less than 1 quart. You don't need to strain the juice the way you do with the food mill method.
- Return the juice to the (cleaned) pot and add an equal volume of sugar, normally about 4 cups. Bring to a boil until it froths, skim the froth, then turn off the heat and pour into clean jars. Always use a new canning lid when you are making this syrup, unless you plan on eating it in the next few weeks. Seal the jars and let stand until the lids pop. They will keep for a year on the shelf or in the fridge.
Notes
Nutrition
Nutrition information is automatically calculated, so should only be used as an approximation.


Hi, Hank.
Elderberries are much easier to destem if you freeze them, and destem them while frozen.
This is, by far, the best recipe I have found. Deliciously delightful in so many ways.
Did I err by my god? That is: immersion blending and then straining with a jelly bag through sheer brute force the juice from the ripe elderberries, (sans stems), and then boil, with equal parts sugar? I skipped a few steps…
I’ve got a great supply of ripe berries, but I’m short on time to do the processing. Is there any reason I can’t pick and destem, then freeze the berries and make syrup in a month when I’ve got more time?
Jason: you can do that.
Just made a batch. Thank you for giving your recipe. It will keep the family healthy all winter.
I steam juice my elderberries and it does not require I get the stems off. Thank you – this recipe looks tasty and I plan to put some up tomorrow!
I too use a steamer to juice my berries but I hear so much about the stems being poisonous that I destem them first. Does anyone have any thoughts on whether they should be destemed or not prior to steaming? Thank you, Paulette
I picked blue elderberries today in Monterey. Alas the stems are not yet red. Should I toss them? Attempt the syrup?
Andrew: They should still be OK, but will be harder to pull off the stems.
I recently panted three Sambucus in zone 9b Florida. Your syrup recipe is the best I’ve read and really prepares me for a day in the kitchen. But so worth it. Thank you for sharing your knowledge. Oceans of joy to you. Cheryl
I have used this recipe several times, but this year the syrup seemed to gel (like a jelly). I’m not sure if that’s a bad sign, or if it’s fine? I did use an immersion blender which I think broke the seeds a bit more than usual which might have released more pectin – it is slightly bitter compared to last years but it’s not a bad flavor. I’m assuming it’s okay because elderberry pie is made with whole berries, seeds and all. Any thoughts?
I also added citric acid for flavor and preservation, which might have also encouraged gelling.
Made and canned my first batch in years using this method, turned out great. Used a fork to strip the berries with good success, then picked out any bits of stem that popped off.
Thanks Hank!
Excellent method and recipe! Thank you. This year, I’m experimenting with adding fresh hibiscus (rose of Sharon and swamp mallow) flowers to thicken my syrup a bit more, and to add an extra health bump to my syrup. I simply make my syrup, then while still hot, add a handful of flowers, stir, cover and let cool before straining.
It adds a bit more viscosity and seems to be working out very well.
I think any member of the edible mallow plant family should work. I have Rose of Sharon and Swamp Mallow in abundance here in Ohio.
Any thoughts on my experiment are very welcome
SC
I rinse elderberries and lay them out on parchment paper in the freezer. Once frozen, the majority shatter off the stems easily. The rest are still pretty easy to get off. Saves a ton of time
Now why didn’t I think of that.
On starting and ending ratios….YMMV depending on how “juicy” your berries are. It’s dry here in Los Gatos. They’re small and already starting to raisin out despite the first berries being ripe for maybe 2 weeks?
Started with 3 lbs 0.1 oz of destemmed berries
Washed and skimmed off some floaty stuff
Everything into stainless put and then used the immersion blender technique. Wow. That was awesome. No added water.
Brought to a boil and then turned down and simmered a bit.
Then used the fine screen on my food mill.
~3-1/4 cups remained
Passed through fine muslin (ugg, not sure I’ll do that again! messy!). Next time I’ll just use a fine screened conical strainer.
I probably had 3 C at the end so I just used 3 C of sugar.
Boiled again (no scum!) and then into clean jars.
The color is intense!
Advise: wear black while cooking. The purple winds up everywhere if you’re not careful! 🙂
Hi, if you don’t do a water bath with them, do you put any lemon juice in them to keep them on the shelf and not in the refrigerator
Vickie: You don’t need to for preservation, but I do add lemon or fruit fresh for flavor. The fact that you mix elderberry juice + lemon juice with an equal amount of sugar make this shelf stable. If you use less sugar, it will not be stable.
If I reduce the amount of sugar (1/4″ cup sugar for 1 cup juice), and then use the water bath canning method to preserve the juice, will they still be shelf stable?
Lauren: I have no idea. Maybe not, unless you acidify them with citric acid. But you can reduce the sugar and keep the jar in the fridge, where it will last for several months.
Great recipe and super simple. Elderberries grow by the truck load up and down the dirt roads were we live in northeastern Washington. To about a gallon of elderberries, I added the last of the black currants from the garden, and a quart of frozen huckleberries from last year. I also used a Mehu-Liisa steam juicer (got it a yard sale years ago and it’s one of my favorite food preservation tools). Yummers! (Oh, and I’ve canned jam for nearly 40 years and never put it in a canner – we just do what you do here. Easy.)
So, no water bath..just sealing in hot jars? Same goes for high altitude?
Sarah: If the syrup is 1:1 sugar to juice, no need to water bath. If it is less, you need to or it will ferment.
How would you recommend making with dried elderberries?
Elizabeth: I would make the syrup of water and sugar, then steep the dried berries in the hot syrup over night.
If using dried berries, after steeping in the hot syrup overnight, would it be best to use the immersion blender & then strain it out or simply strain the berries out whole? Just looking to get the most out of the berries.
Nicole: I would just strain the whole berries. If you grind them the syrup will be filled with bits. If this doesn’t bother you, it will be fine from a safety perspective.
Love the idea of freezing then first, then shaking the berries of. I will certainly try this with my harvest.
I love your approach, thank you for sharing your invaluable hands on experience. I started making syrup from this recipe four years ago, and since then syrup making in elderberry season has become a family tradition. I hope you don’t mind I reference you as a source in my recent post about it.
I have another trick for you. Shove the bag of elderberry stems into the freezer. When the little berries are frozen hard I just whack the stems against the side of a bowl and they come off the stem right away. So instead of picking little berries off the stems for 45 minutes, you can get it all done in about 10 minutes.