As an Amazon Associate I earn from qualifying purchases.
Here is how I fillet a flounder, or any flat fish. When I say “flat fish,” I mean halibut, fluke, sole, plaice, turbot, etc. This method works with any flat fish, with the exception of really small ones like sand dabs.
I generally use this procedure with flat fish larger than about a pound, up to about 40 pounds. The larger the fish, the more extras like collars or cheeks you can collect; they’re not really worth it on fish smaller than about 10 pounds. Really large Pacific and Atlantic halibut are, more or less, cut this way, too, but are then steaked.
Start by getting a lightning sharp fillet knife appropriate to your fish. I tend to use a Kershaw fillet knife with at least a 9-inch blade. You want a long blade with a larger fish so you can make long, sweeping strokes. This results in a cleaner fillet.
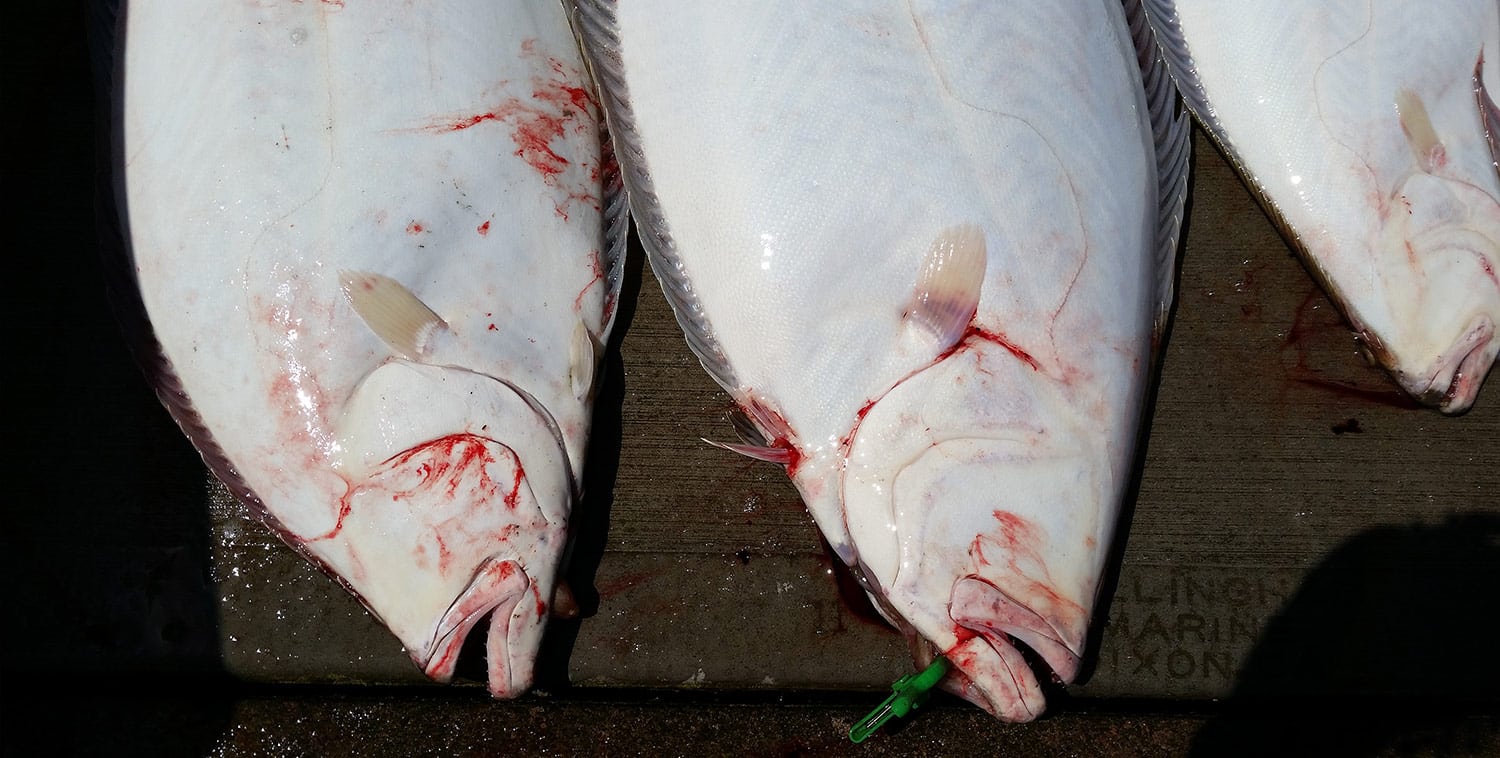
You fillet a flounder with the intention of getting four boneless fillets, not two like in round fish. How to do this? Easy, as the fish itself gives you directions. First, lay it out on a work surface and look for the lateral line running down the center of the fish. It follows the spine of the fish.
Slice down to the spine along this line, from right behind the pectoral fin down to the tail. Then you want to make three cross cuts that will mark the ends of your fillets. First is across the tail, and the other two are from the pectoral fin to the vent, and from the pectoral fin to right behind the head. Like this:

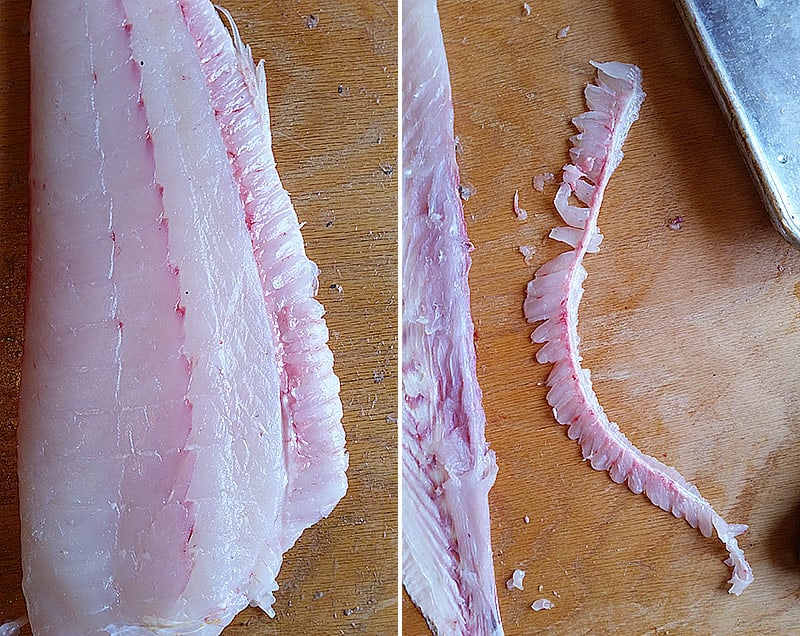
Now, starting at the tail, use your knife to free one half from the skeleton. Run the knife along the spine in long, gentle strokes. At first you just want to get the fillet off the spine, then, again starting at the tail end, sweep the knife against the ribs toward the line of fins at the edge of the fish. You want to have the knife touching the ribs. When you get to the tail part, run the knife all the way to the edge so you get what I call the “frill” meat; more on that in a bit.
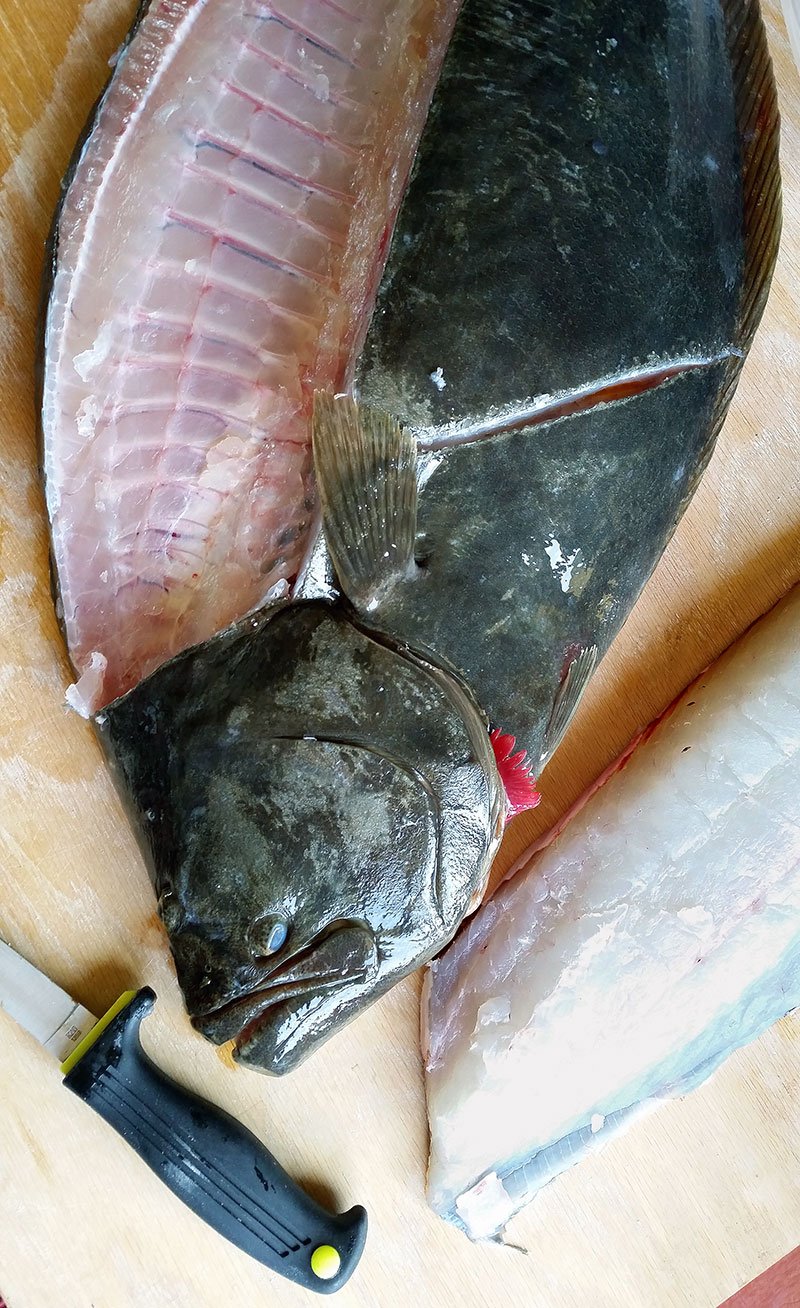
When you have one fillet off, the second comes much easier. Take your time at first, but once you get the hang of it, you can fillet even a large flat fish, like this 20-pound California halibut, in a few minutes.
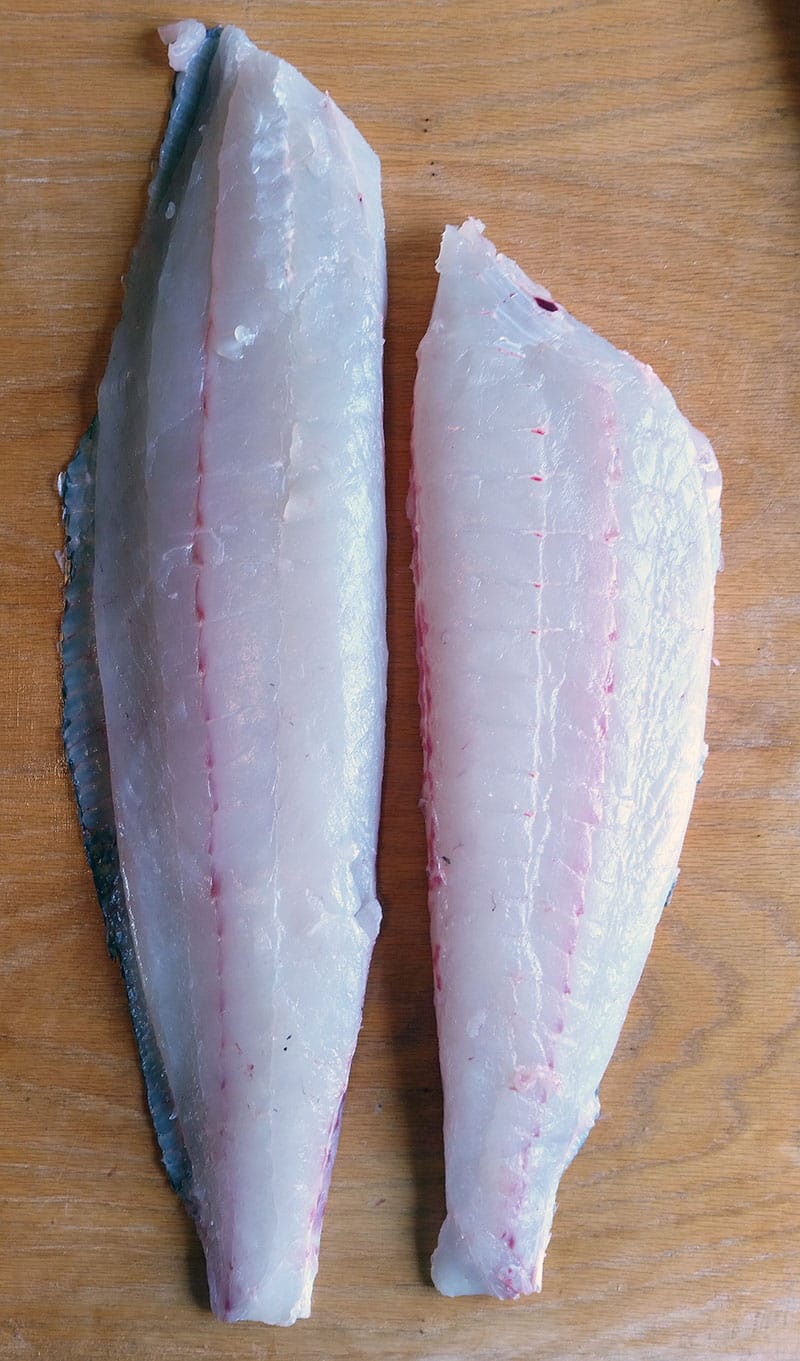
With both halves off the top, repeat the process on the white side of the fish. The top fillets are always thicker, and if you are nervous about filleting, you might want to start with the white side, as there is less meat there to mess up. I generally start at the top, though, as I’ve been doing this for many years.
When you have all four fillets off the carcass should look like this:
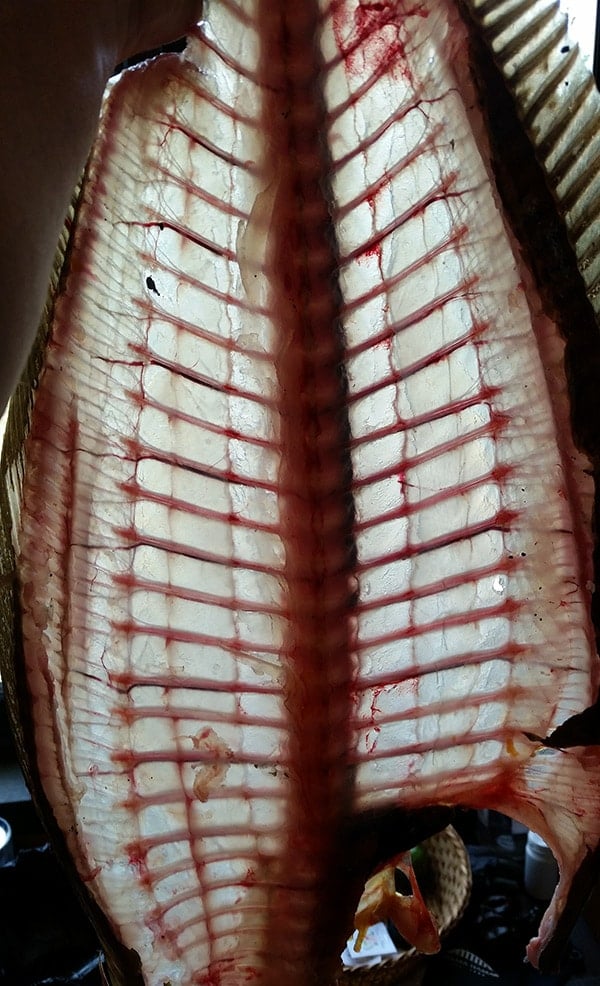
If you’ve not been that clean, fear not: Just slice any remaining meat off the carcass and flash freeze it for a couple days, to kill any potential parasites. Then, eat it as sashimi with some wasabi and soy.
In general, the skin on a larger flat fish isn’t terribly good to eat. They have very small scales that don’t come off easily, and the skin is pretty thick. I do like the skin on small flat fish, though, like sand dabs and little flounder. So, for the most part, you want skinless fillets.

To do this, you again need that long knife. A short one make skinning much harder. I start from the tail end — the tail meat is, in my opinion, not as good as the meat behind the head. Slice down to the skin and anchor the back of the skin with your off hand. Slide the knife between the skin and fillet and work the skin back to you. On a big fish, you will need to readjust your grip once or twice.
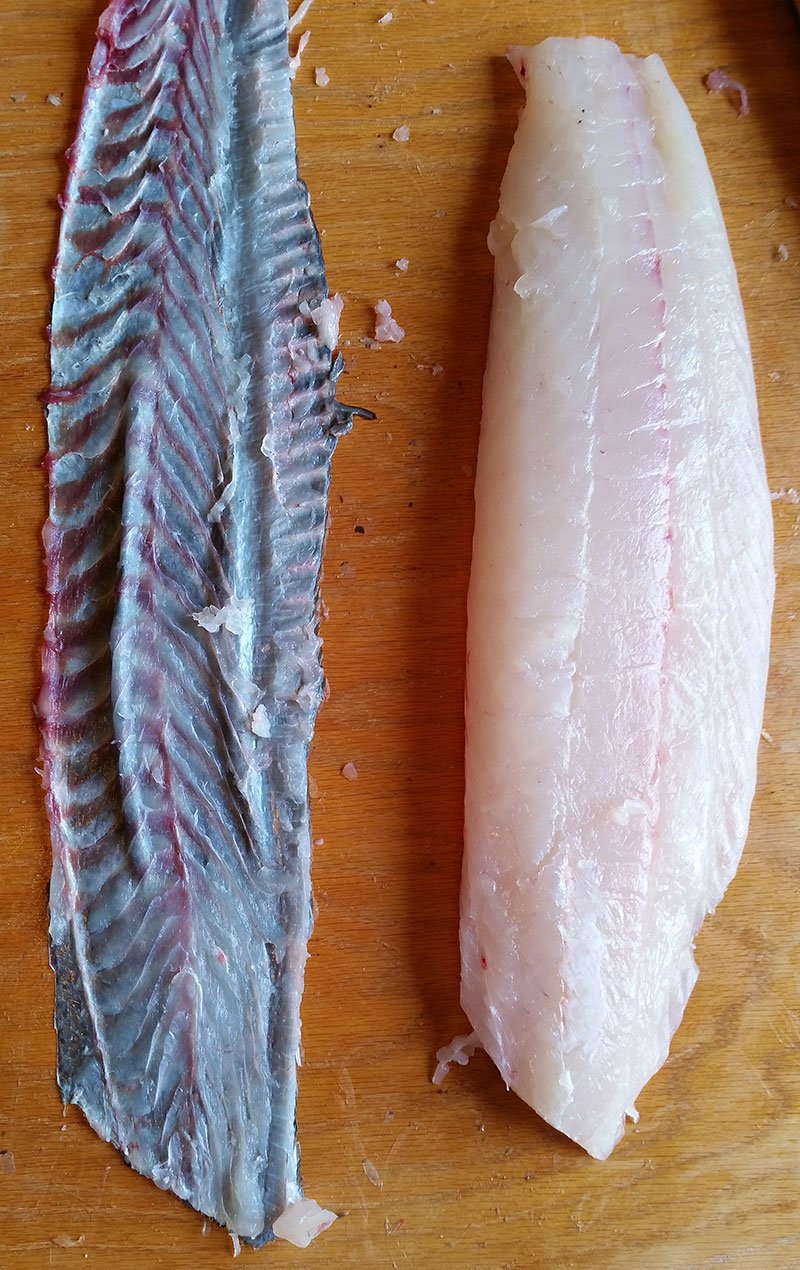
The skin comes off surprisingly easily. If you’ve cut too much meat off, slice it thin and add it to the sashimi pile. If you left some skin on the fillet, carefully slice it off. This is where a truly sharp knife comes in handy.
Now, many times you will still have the “frill” meat attached to the fillet. This needs to go, as it will fall off the main fillet when you cook it. You can usually just pull it off. Save it for the sashimi pile, as this is the most sought-after cut in all of sushi, at least when it comes to flat fish. The Japanese call it engawa.
Again, be sure to flash freeze your halibut, fluke, flounder, etc meat that you intend on eating raw, to kill any potential parasites.
From here, you’re done with smaller flat fish. For larger ones, you will want to cut the long fillets into three kinds of meat. First is the loin, the thickest part of the fillet. Square off the head end of the fillet and use what you cut off for soups, Hawaiian poke, halibut curry or somesuch. Do the same with the bottom end of the loin, where it’s much thinner than the primo parts.
You then cut the loin into pretty blocks you will want to sear; I especially like them brined and served with an Italian salsa verde. Finally, when you get toward the tail end, you either add it to the soup pile, or keep them separate for making fish and chips.
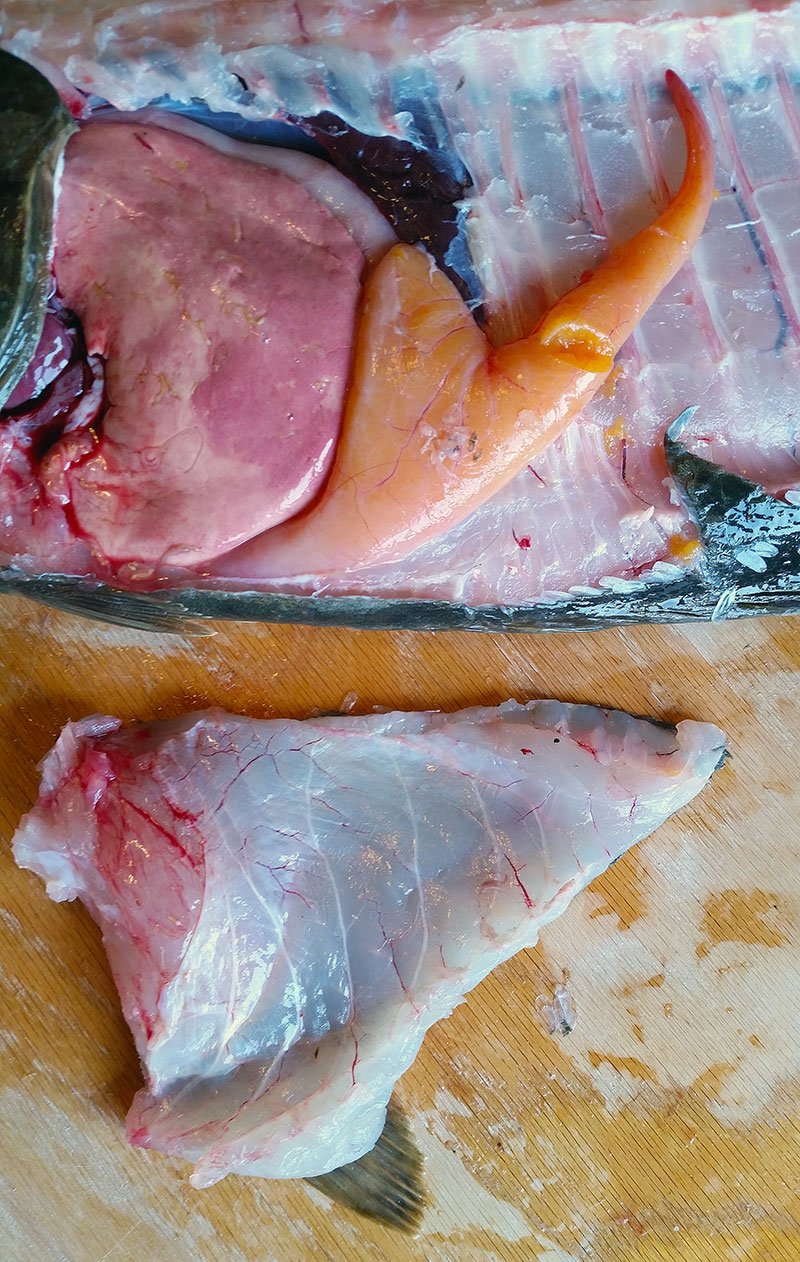
That leaves the cheeks and the collars.
Cheeks you just remove using your ingenuity; there’s no particular way to get them out. Simply poke your knife through the skin, then slide it under the skin to remove. Then slice away the cheek. Only tip I can give you is that it is deeper near the eye than near the gill plate. These are best floured and fried.
Finally, on really large flat fish, you have the collars. I only bother with these when the fish is about 10 pounds or larger. Halibut collars are best marinated and grilled, using this recipe.
To remove them, I use kitchen shears to cut them free from right behind the pectoral fin. Then I use my knife to slice down to the edge and cut the collar in half. Alternatively, you can remove halibut throats by snipping the whole collar off under the chin, then at each gill plate. You then snap it flat and you have both collars as one piece.
Some people eat the roe and the livers, but I rarely do. If you look closely at the liver in the picture above, you will see liver flukes, which are parasites. Not good eats.
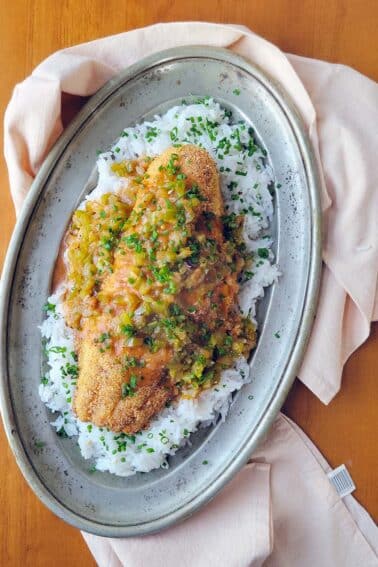
So there you have it: A tutorial on how to properly fillet a flounder to get every bit of edible meat. I’ve been doing it this way for many years, but I am betting some of you have different methods. Let me know in the comments!


I have been filleting fish for many years. My go to knife for fish is curved. It is a few generations old, so maybe curved knives aren’t used anymore, but I wouldn’t change it for the world. I’ve always worked from the head to tail. I think my great uncle Joe taught me how to fillet fish. He was an outstanding fisherman, and could cut up fish with amazing speed. I see the fish but a video of the actual process would be more help to those beginners. Also want to note that when I get ready to fillet a fish, I found holding onto the tail can be challenging because the tail in slippery, so I’ve always used a pair to gloves with gripping finger tips.
I’ve also always used your method on flounder, but recently learned a new filet technique for the tasty fish. I would do a terrible job describing it, but it is amazingly fast and clean. Search youtube for “15 second fluke cleaning” and it will pull up a video of a guy explaining it. Hands down best way to clean flounder.
pull the gills out while you’re still out fishing. bleeds the fish out. cleaner fillets.
Mike: I have done that for many many years, and find that one some fish, flatfish in particular, it does not need to matter. Salmon, on the other hand, really need bleeding.
I save cheeks on ling cod over 8lbs or so too. The cheek meat is fairly easy to remove and it’s so easy to just pull the skin off there’s no need to do it before cutting out the meat.
I usually just cook the (lightly salted) cheeks in a little butter with some garlic and herbs. I rarely share them.
Hank, I want a Video
One tip on the cheeks to try Hank. Take a soup spoon and a tea spoon that you don’t care about or is not part of a set and put the spoon on your grinder and sharpen the entire rounded edge on the top of the spoon so that it is sharp like a knife and then use them the scoop out the cheeks, the soup spoon for the bigger fish and the teaspoon for the smaller ones. Works great and the spoons can double in helping peel lemon and lime peels for twists for your Martinis as well. Thanks for the tips on cleaning flat fish.
Guy: That’s a great tip!