As an Amazon Associate I earn from qualifying purchases.
When people ask me how to clean a pheasant, I always ask back: What do you intend to do with the bird?
Because for many recipes, it’s as easy as yanking the skin off, popping off the legs and breastbone, and maybe collecting the giblets. That takes a few seconds.
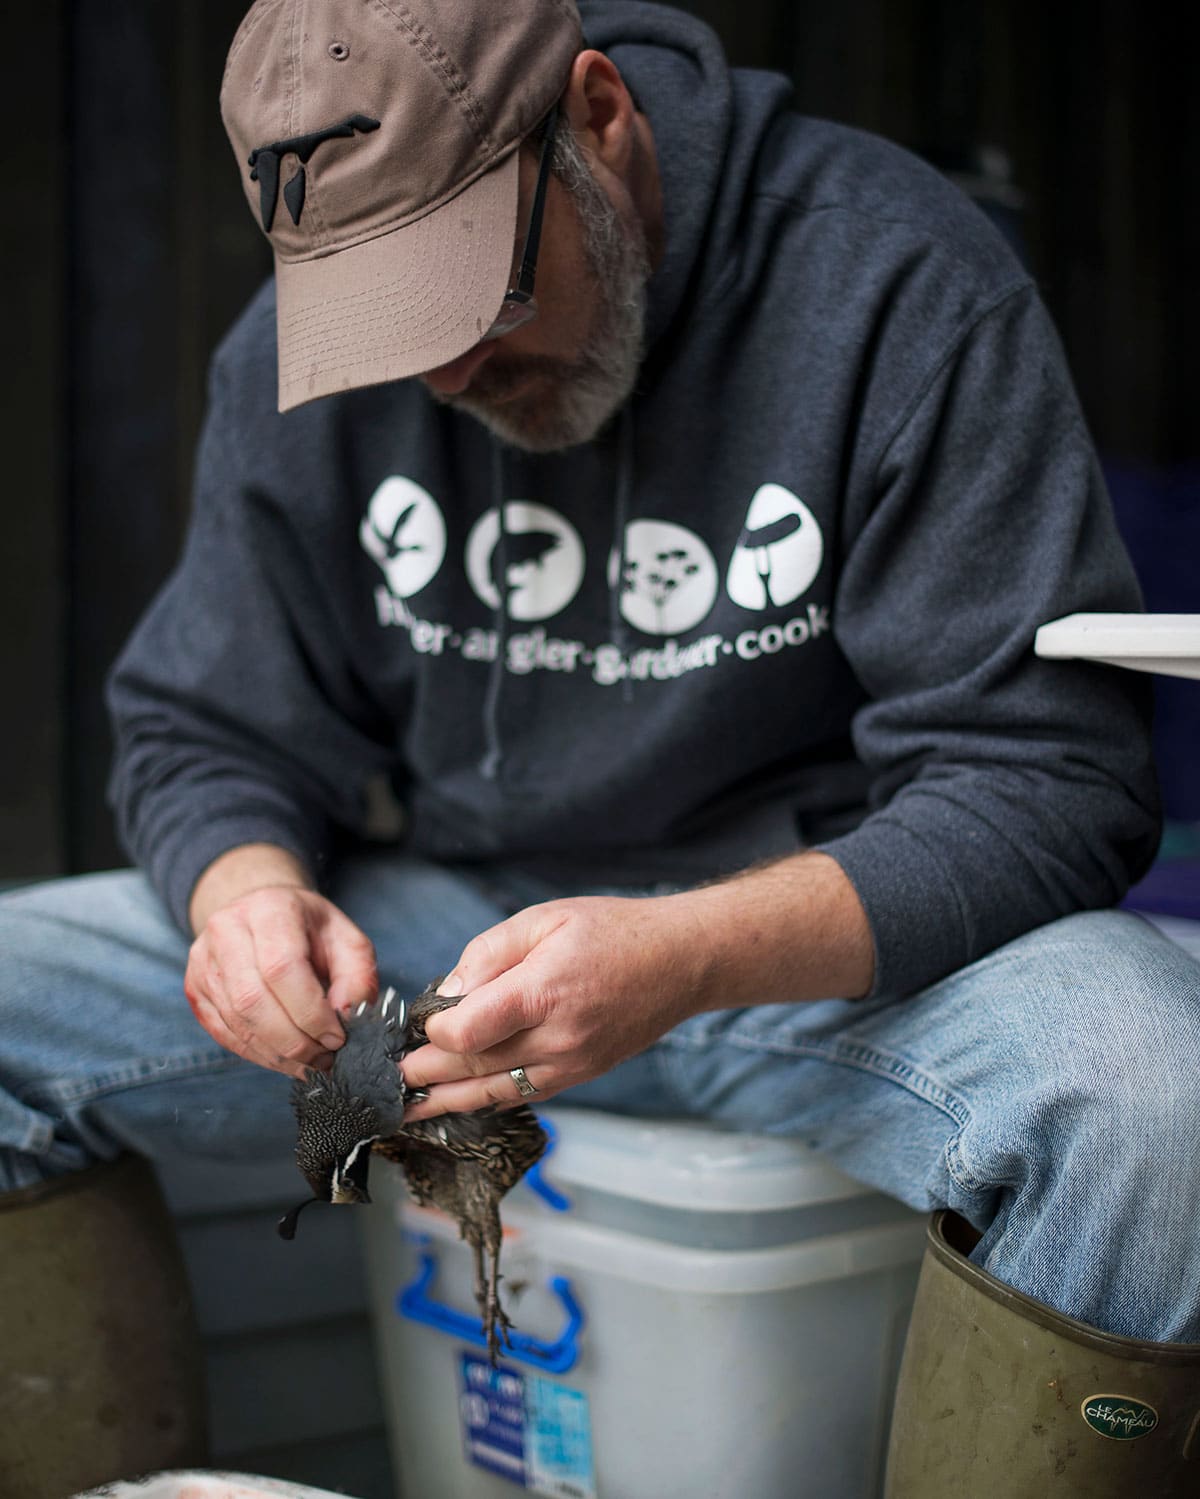
But if you want to really enjoy your game birds, not just pheasants, you’ll want to pluck them. Here’s how.
Plucking a pheasant, grouse, quail or other chicken-like bird is not hard, but it requires patience. The reason is because unlike a duck or goose, these birds have relatively thin and loose skin — skin that will tear easily if you try to rush the job.
There are two methods: Dry plucking and wet plucking. Dry plucking is what you think it is — you just start plucking feathers off the bird. I swear by it, and I will dry pluck in most cases. There are some tricks to it, which I’ll get to in a bit.
But if you have a pile of pheasants, wet-plucking works well and is a lot faster.
Wet plucking basically means scalding the bird before plucking. To do this, you need to get a large pot of water and get it to scalding temperature. What is scalding temperature? Steaming, but not boiling — not even simmering. If you need a number, shoot for 140°F to 150°F.
- Do one bird at a time. The scalding process only works when the feathers and skin are warm. Once they grow cold you will have a soggy mess. Work quickly and efficiently.
- Once you have the water hot enough, pluck the pheasant, grouse or quail’s tail feathers out, one by one. Then grab the bird by the head or feet (I do the feet) and plunge him into the water. Hold him under for 3 to 5 seconds. Lift him out and let him drain until the water stops coming off in a stream. Repeat this until a wing feather comes out easily, anywhere from three to seven dunks.
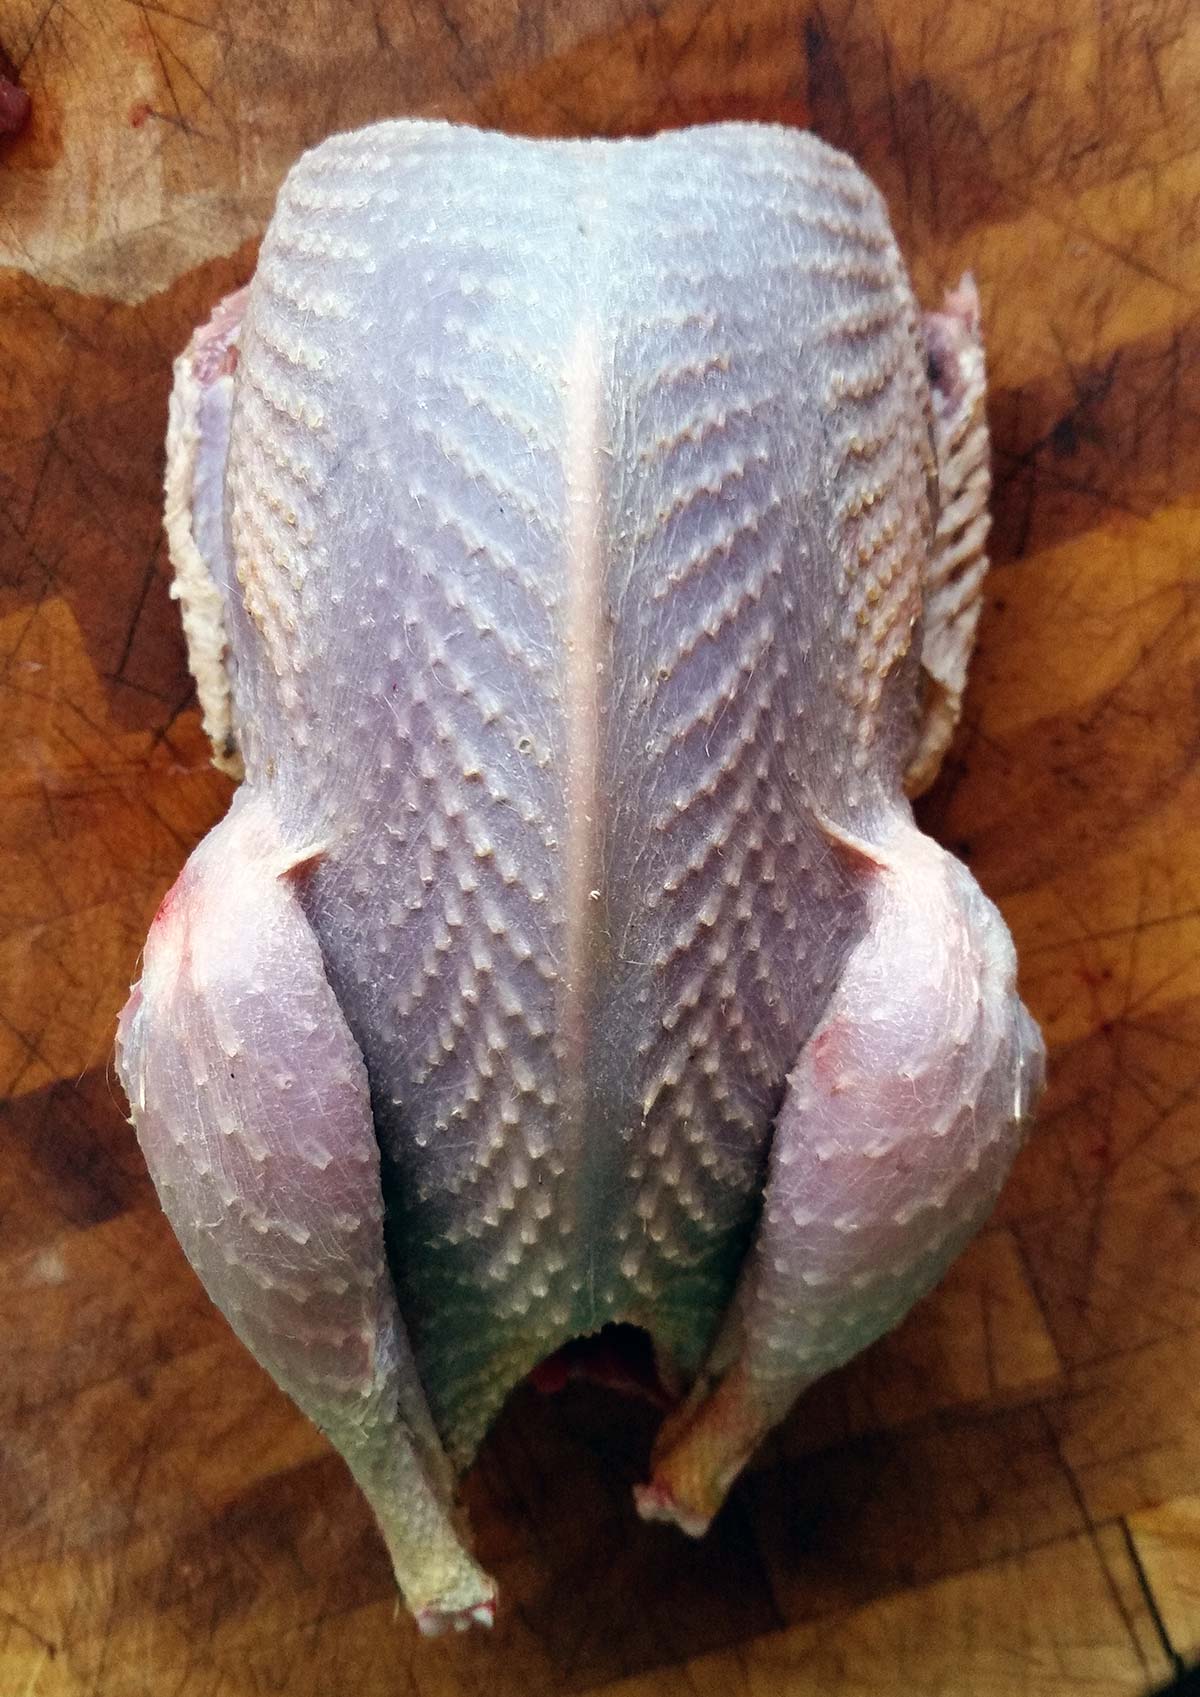
- Pluck the bird while it is still warm. Start with the wings. Next pluck the large feathers along the outer edges of the breast – carefully, as they can tear the skin easily. Then work on the flank feathers on the bird’s thigh, then go to the neck and finish with the back and the rest of the legs. Take your time. It is very important. Go feather by feather if need be, especially around the breast — you want it to look pretty and not torn.
- The feathers on the wings come off easier than those of a duck, which is the most persnickety part of duck-plucking. But the outer edges of a pheasant’s breast — especially around any place that has a shot hole — is the hardest part, to my mind. When you have shot holes, anchor the skin down with the fingers of one hand, and pluck one feather at a time with the other. It’s the only way to get them off without tearing the skin.
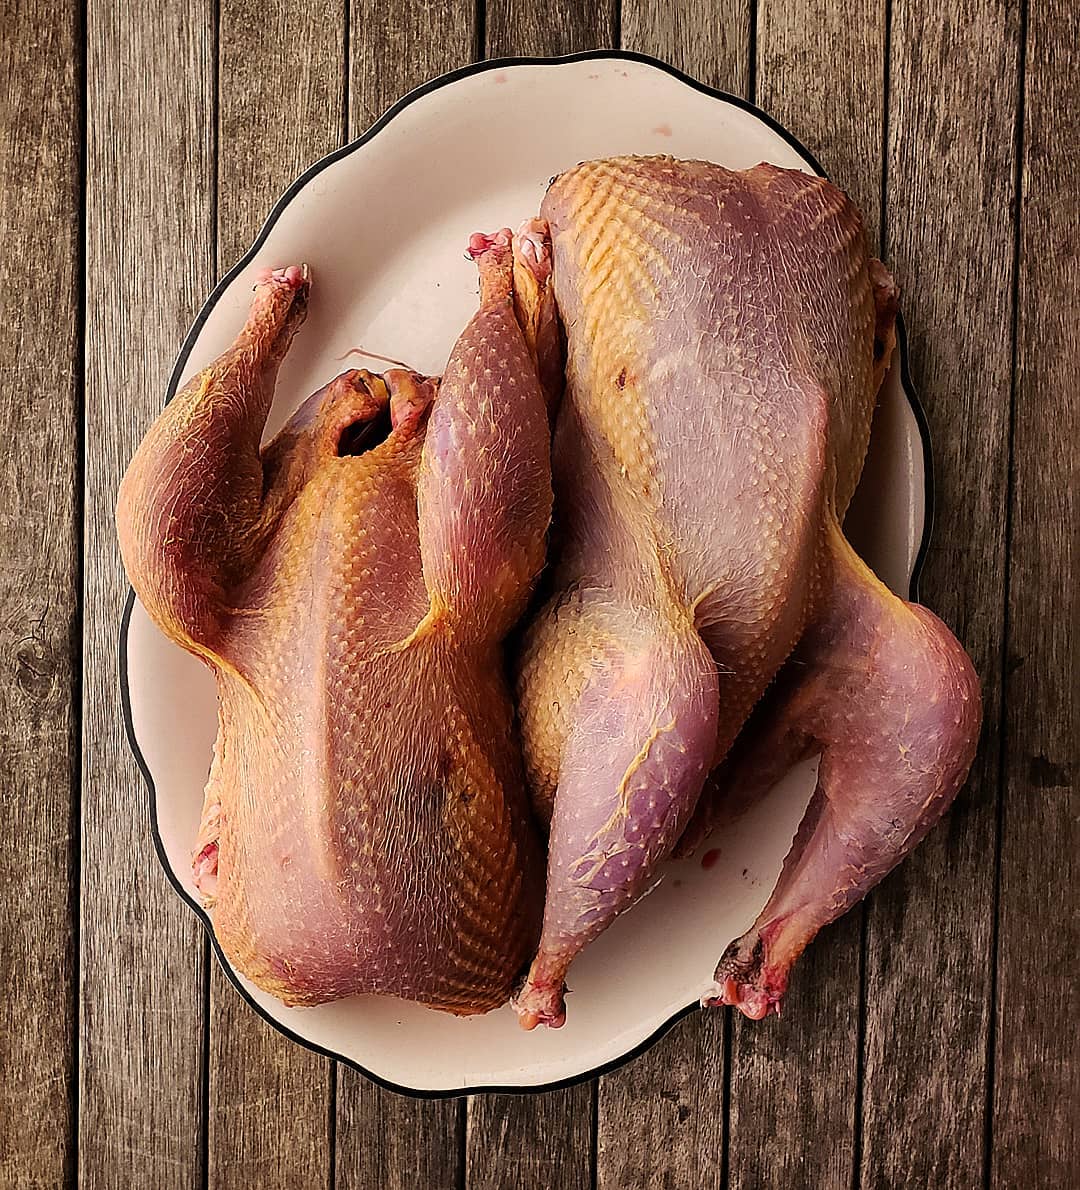
- When you are finished, gut the bird (save the liver, heart and gizzard to make Italian giblet Bolognese pasta sauce) and wash it well. Dry the bird with a paper towel thoroughly, stuff a clean paper towel in the cavity and then set him on another paper towel in a lidded container in the fridge for 2 to 7 days. Pheasants, grouse and quail age well this way.
This method works for all upland game birds. All are related biologically, and all have the same thin skin as a pheasant. In my experience, Grouse, quail and partridges are better dry-plucked than wet-plucked, although it takes a lot longer to dry pluck than wet-pluck a bird.
Doves, woodcock and pigeons, which are not related to the others, are easy to dry pluck.
A few words on dry plucking: I mostly do this with birds that have been hanging for several days; you can still wet-pluck a hung pheasant, but the longer the hang time, the more likely you will need to contend with weakened skin.
So to dry pluck:
- Start on the wings and back as you would a fresh or scalded pheasant. Remember to pluck, not pull. Use a quick snap of the wrist to yank a feather or three out very quickly, while anchoring the skin down with several fingers of your other hand. Under no circumstances should you try to grab more than a couple feathers at a time, except on the back. You will tear the skin.
- Plucking the leading edge of the wings requires you to snatch a few of the feathers — and not the skin — and pluck back toward the body. Do this a couple feathers at a time, making sure not to grab skin.
- Drumsticks pluck the easiest. Be sure to pluck the knee, as this is where you want to cut off the feet.
- The neck has a few areas that pluck easily, but the loose or limp areas are trickier. Use your thumb to anchor the skin on the back or the breast, depending on which side of the neck you’re working on.
- There are two kinds of feathers on a pheasant or other upland bird: quill-type feathers with a stiff core, and wispy under-feathers. The under-feathers pluck very easily, while the quill feathers are guaranteed to rip the skin if you pluck incorrectly. The wispy feathers are all on the flanks of the bird, in the hollows on the neck and in the center of the breast.
- To pluck quill feathers correctly, anchor the skin down and in one motion, yank each feather out the way it is attached. It is very important to do only one or two feathers at a time when you get to these feathers, which are on the neck, each side of the breast, and the flanks of the bird.
- The wings are pretty easy, but watch out for where the wings meet the body — this shoulder area tears easily.
- Save the breast for last: The feathers along each side of the breast are be nit-picky, but the little feathers in the center are a breeze.
Here’s a video on plucking a pheasant for reference.
Some notes on plucking upland birds:
- Don’t pluck birds the same day or even the day after. This is the single biggest problem people encounter with plucking pheasants. Pluck a bird right after you kill it, or hang it for at least 2 days before plucking. Skeeved out by hanging? Put your birds in a bag in the refrigerator. I do this all the time with grouse, and they’re fine for up to a week.
- Sharp-tailed grouse, quail and young ruffed grouse are the hardest to pluck cleanly. But you can do it, given practice.
- September birds are harder than birds later in the season. Why? Lots and lots of pinfeathers.
How to Pluck a Pheasant or Other Game Bird
Equipment
- 1 Apron, ideally one that goes below your knees
- 1 pair of kitchen shears
- 1 trash bag for the feathers
- Paper towels
- 1 pair gripper gloves (optional)
Ingredients
- 1 pheasant, grouse, quail, etc.
Instructions
PLUCKING
- Sit down and be comfortable, and have the trash bin in front of you. Or if you are outside, make sure the wind is at your back. Feathers, you know…
- I start by pulling out the big flight feathers from the wings. Sometimes you need to yank them one by one. Never grab more than a few though, or you will rip the skin.
- After that, I use my thumb and forefinger to pluck wing feathers. I only pluck the drumettes and the flats, not the last digit. In one motion, I slide my thumb under some feathers, press down to grip with my forefinger, and flick my wrist away from myself to pluck them out. This is the basic motion you will use for all feathers.
- When it comes to the tiny leading edge feathers on the wings, I extend the wing with one hand, and with the other, I pinch a few between my thumb and forefinger and pluck them off, toward the body. This is persnickety.
- Clip off the final digit of the wings. Dogs like them. Start pulling out tail feathers one or two at a time.
- Now, you can use that thumb and forefinger motion to defeather the bird's back quickly. This is the easiest part. Work straight up the center of the back, to the base of the neck. You will now see a lot of gossamer, light feathers under the bird's "armpits" and along its sides. These are easy to remove, and can almost be rubbed off. Stop when you get to the line of big, showy feathers along the breast, and when you get to similar feathers on the bird's flanks.
- You'll see the neck has showy feathers and the little gossamer ones in between. I pluck a couple of the showy ones at a time until I have a line plucked. Then I remove the easy little ones next to it, then repeat the process all around the neck. The skin around the crop gets rippy, so be careful.
- Remove the flank feathers one or two at a time. They can be rippy. I pull them out the way they went in, so down, away from the bird. This is a spot that rips a lot, and if you can minimize it, you'll be rewarded with a pretty, skin-on thigh.
- The drumsticks are easy. Hold the bird from the feet and pluck towards the bird's center. The feathers right where the feet meet meat are the hardest. But this section goes quickly.
- Now I remove all the little feathers that are in the center of the breast because they are easy. That leaves only the big, showy feathers that run on each side of the breast. These are the hardest ones. Anchor the skin with one hand, and with the other, pluck — again with thumbs and forefinger — one feather at a time. Once you get the hang of it, it goes fast, but you really never want to grab more than a couple feathers at once here.
- Once he's plucked, I will run a cigarette lighter over the bird to singe off any stray feathers and those weird hairs.
GUTTING
- I snip off the Pope's nose, the tail, and then snip upwards to the breastbone to make a hole large enough for my hand, or at least a finger in the case of quail, to get inside.
- Pull the gizzard out first. It's the hard, large thingy. Often the liver comes with it. Save it or discard, up to you. Ditto with the gizzard. Discard the intestines, and pull out the heart. Eat it or put it in the stockpot. Rinse the bird well and let it drip dry.
- Set the bird in the fridge uncovered overnight before doing anything else with it.
Video
Nutrition information is automatically calculated, so should only be used as an approximation.


hi Hank, thanks for the writeup. I was gifted 2 frozen wood grouse, is it still possible to use the wet plucking method for a frozen bird? Do I need to thaw it before plucking?
thanks!
Gil: You definitely need to thaw first. I have no idea about wet plucking a thawed bird though. Never tried that.
thanks Hank. Based on your other articles about plucking birds that have been hung, I’ll give dry plucking a try
I was just gives two brace of pheasants, shot today. This video is most helpful. Thank you.
thanks much for the descriptions. it certainly takes more time than breasting the birds. but
much nicer. i learned how to do woodcock 50 years ago. you can see the fat remaining under the skin. roasted med rare they are delicious. thanks again