How to Grow Chaya, or ‘Tree Spinach’
August 12, 2021 | Updated May 24, 2025
As an Amazon Associate I earn from qualifying purchases.
Chances are that unless you’ve spent some time in the Yucatan, you’ve not heard of chaya, also called tree spinach. But you can grow chaya here in the United States, in a pot in cold places and in the ground in warm ones.
Here’s how to grow it, and what to do with chaya once you have some.
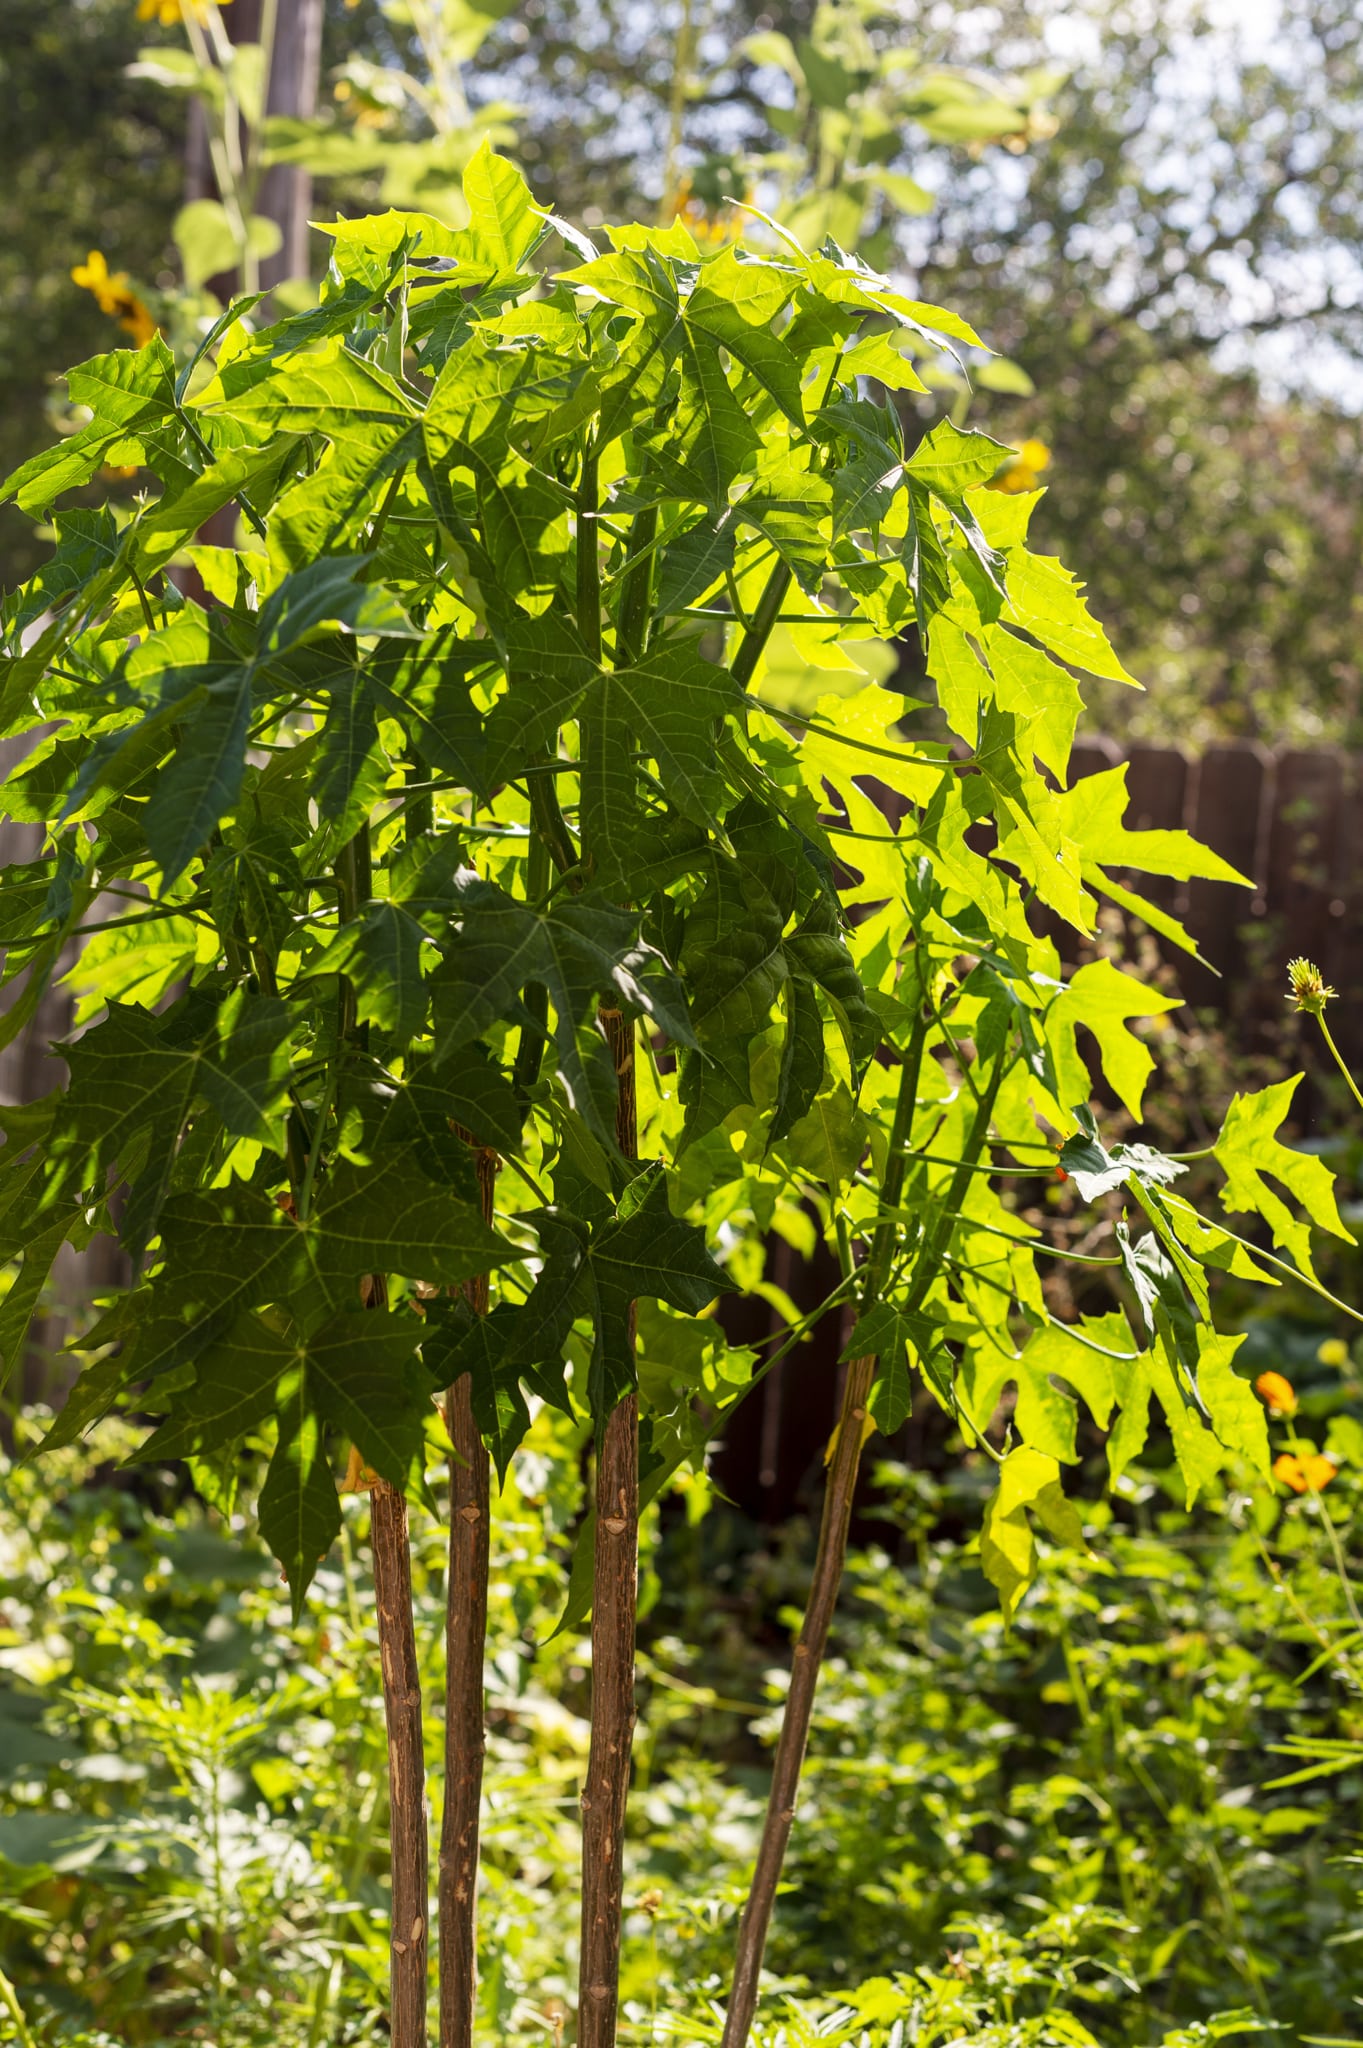
Why bother? Well, chaya, Cnidoscolus aconitifolius, is a green leafy vegetable that likes hot weather — a rarity. It is also extremely nutritious, to the point where some call it a superfood.
I just like it because it tastes nice, a lot like spinach, only sturdier, and I can grow it here in Sacramento. If you live in agricultural Zone 9 or warmer, you can grow chaya in the ground.
It likes moisture, but is also pretty drought tolerant. I water mine once a week, although I should probably water it more for better yields. It will lose its leaves in winter here, but will grow larger each year.
Anything colder than Zone 9 and you will need to protect the plant in winter with a heap of straw or somesuch over the base of the plant in fall. I would not grow chaya in the ground in anything colder than Zone 8 though. It can be grown in large pots and moved inside, where, so long as it doesn’t freeze, it will live for years.
Here in Sacramento, I planted my chaya in partial shade. It is an understory plant in the Yucatan, so I reckoned that the full-on, 115°F desert sun we get in summer would kill it. It prefers good soil but will handle so-so soil. It needs to be well drained, though.
The first year chaya grows very slowly, so this is a multi-year project if you want to grow your own. After Year One, it will grow much faster, and will reach 6 feet tall eventually, larger in places like Florida. In its native Yucatan, chaya can grow much, much larger, like 20 feet tall.
Harvesting and Cooking Chaya
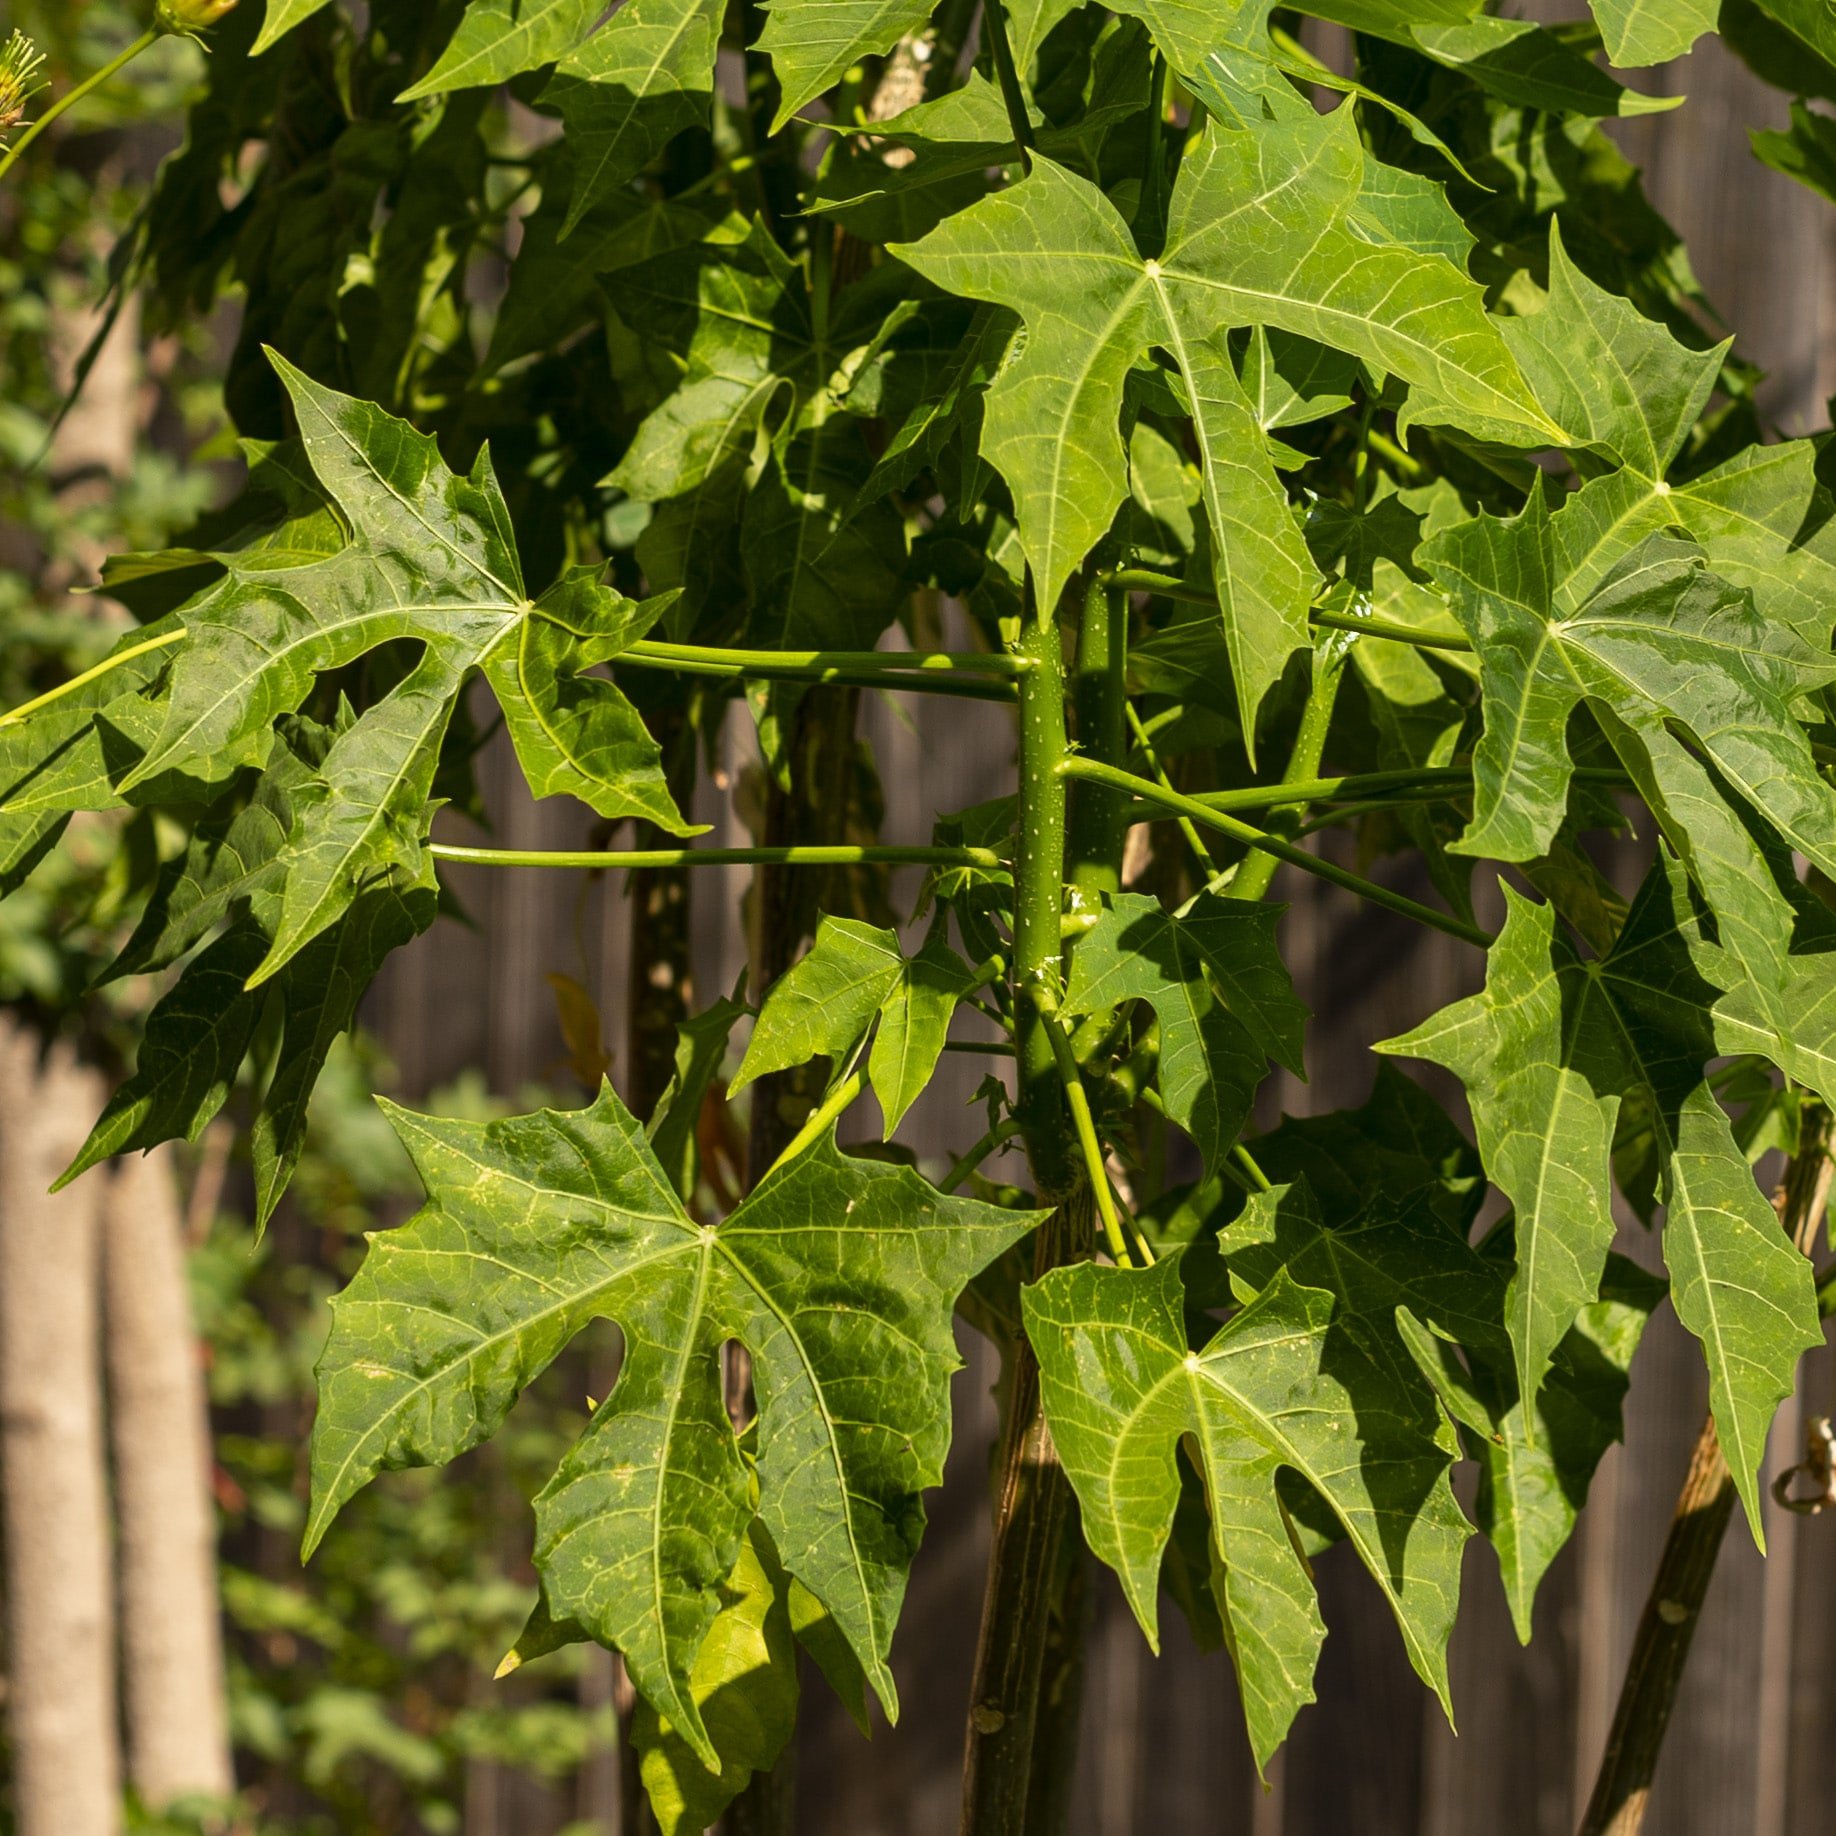
It is as simple as picking leaves — never more than half of a plant — but the sap or juice from the plant can irritate your skin, and some varieties of chaya have stinging hairs on them similar to nettles. Most cultivars you can buy lack these hairs, however. Mine doesn’t have them.
The leaves have a volatile toxin in them that dissipates when cooked, so you need to cook your chaya for at least 10 minutes. And be sure to avoid aluminum pots when you cook it, because aluminum causes a reaction with the juice of the plant that will give you diarrhea.
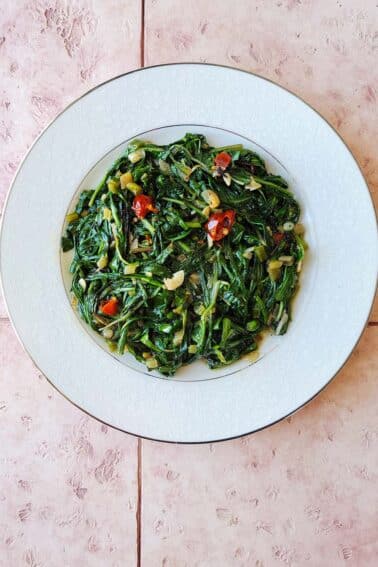
For most of us this is not a problem, since most American pots are steel or iron or enameled. And you typically eat chaya in soups, as an ingredient in tamales, or as a green cooked like Southern collards. It’s not a salad green.
Chaya Nutrition
I’m into green vegetables with big nutrition values, like nettles. Chaya is the same way.
A USAID document intended for use in Cambodia that urges Cambodians to grow the Mexican plant notes that chaya is very high in protein, calcuim, iron, and Vitamins A and C.
A 100 gram serving, about 1/4 pound, provides 15 percent of your daily protein needs, about 30 percent of your daily calcium, 50 percent of your iron, 27 percent of your Vitamin A and an enormous, 300+ percent dose of Vitamin C. Take that, oranges…
Note that with cooked chaya, most of that Vitamin C will be in the broth or water. So don’t toss it.
There is also some evidence that chaya can help people with diabetes. At the very least it won’t hurt.
Getting Your Own Plant
OK, if you are convinced and want to grow chaya, how to get started? I bought my plants from Sow Exotic in Florida. They are often sold out, so other options would be to try Etsy, or even Amazon.
You definitely want to buy cuttings or, better, a rooted plant. All the stingless cultivars seem to be sterile, so seeds are out.
Buy a couple plants if you can for better yields. They’d make a cool hedge if you live in the right place.
Chaya Recipes
As I mentioned above, you have all sorts of options for chaya as a cooked green, so think anywhere from Southern collards to Indian saag paneer to Irish colcannon. I love chaya in these Italian dumplings.
But if you really want to give chaya its due, you want to look to Mayan cuisine, which means southern Mexico down to about Costa Rica. This is where Chaya is from, and where you will find the most recipes.
I’ve seen recipes for everything from empanadas stuffed with chaya, tomato and onion; balls of chaya, corn masa and eggs, cream of chaya soup (like a cream of spinach soup); chaya tossed into innumerable soups and with pretty much every other vegetable imaginable; even a soufflé.
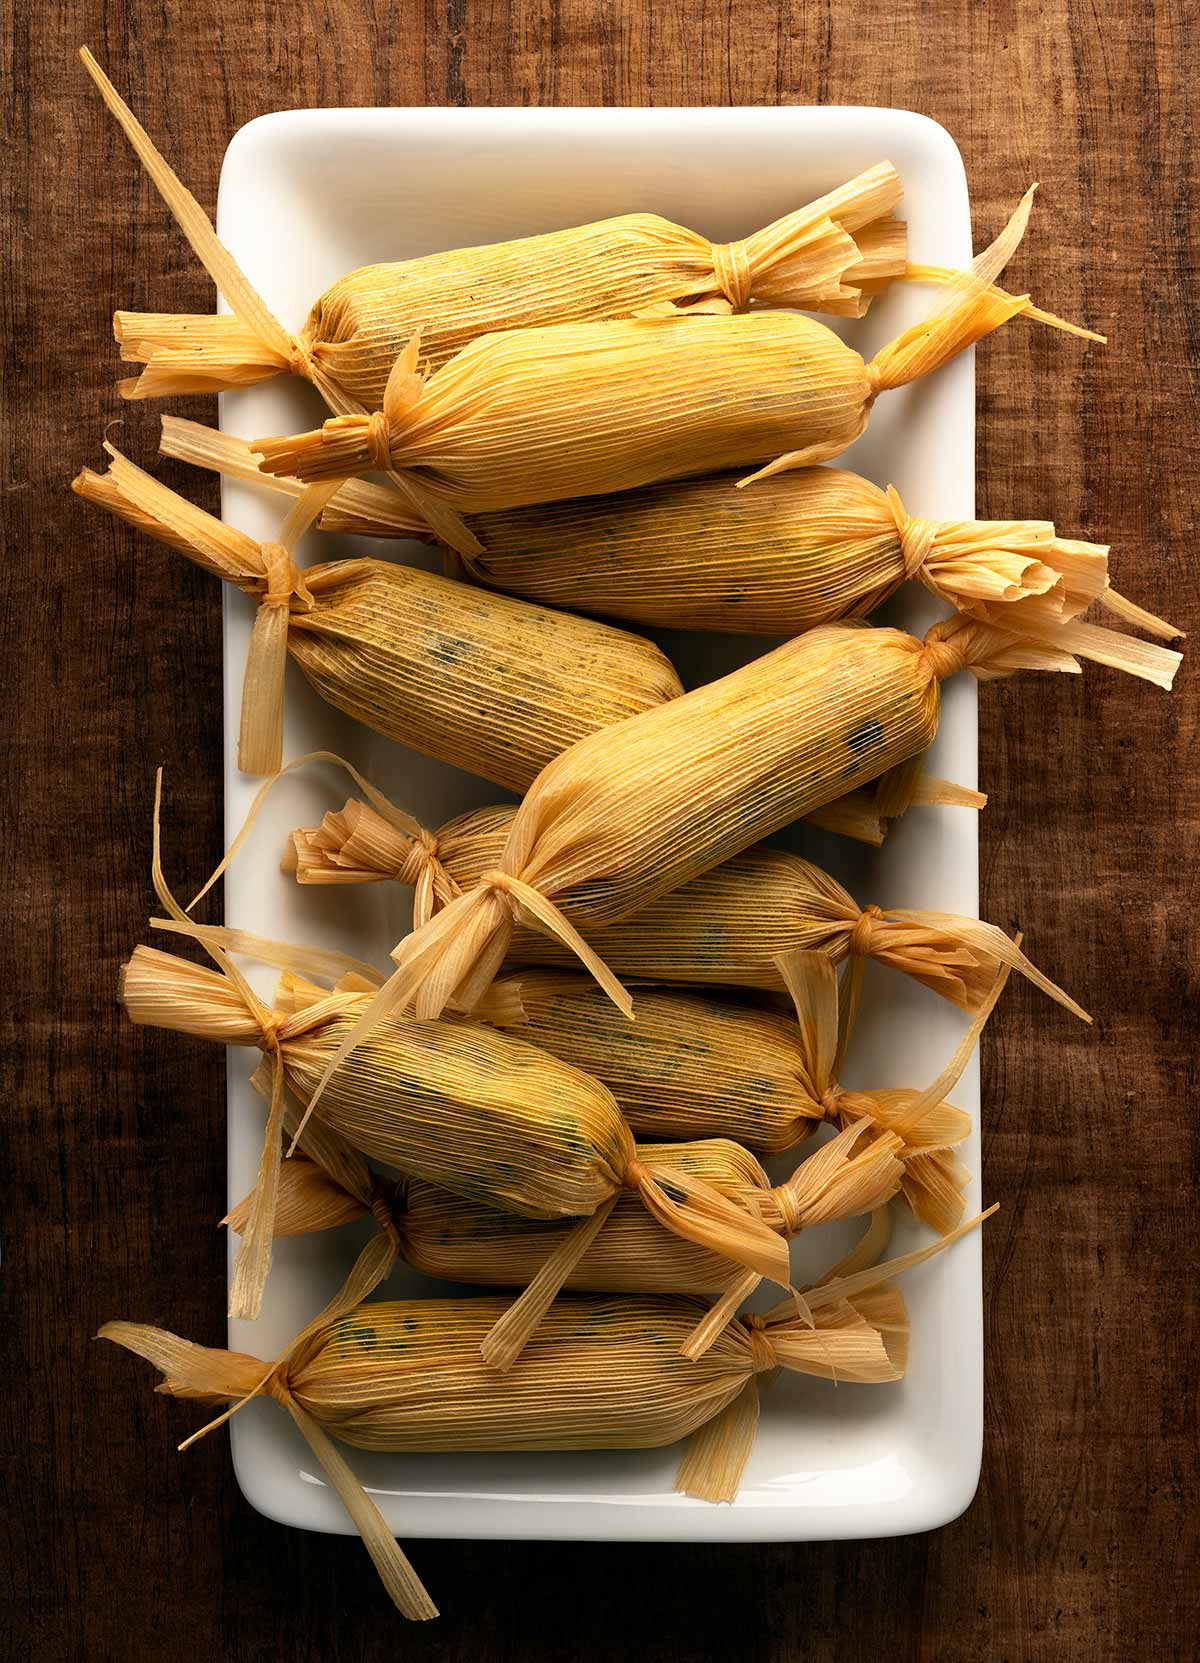
I love chaya tamales. These are from the Yucatan Peninsula and are basically simple tamales with chopped leaves in the mix. No filling. You serve them with the salsa of your choice, in this case a tomato sauce spiked with habaneros.
Chaya Tamales
Ingredients
- 2 pounds fresh masa for tamales, or
- 3 cups masa harina
- 3/4 cup lard
- 2 cups chicken stock
- 2 teaspoons salt
- 1/2 pound chaya leaves, chopped (see above for alternatives)
- 1/2 cup pepitas, roasted pumpkin seeds
- 1 to 2 teaspoons powdered green chiles (see notes below for alternatives)
- 30 corn husks
Instructions
- Bring a large pot of water to a boil. Add the corn husks to soak. Turn off the heat. They will need to soak for at least 30 minutes, and can soak up to overnight. Find some ratty looking husks and pull off strips to tie the tamales. You'll need a couple dozen.
- You can get masa for tamales at any Latin market. Just ask the counter for "masa for tamales." That means it already has the lard and salt in it. If you can find that, you don't need the masa harina, lard, or chicken stock.
- If you can't find premade masa for tamales, you can buy masa harina for tamales (masa harina is basically corn flour), and then you will need the lard and chicken stock. If you are going that route, put the chilled lard in the bowl of a mixer and whip it until it's fluffy. Change from the whip to a paddle. Then add the masa harina little by little, with the motor on medium, then add the salt and the chicken stock just until well combined. You now have your basic dough.
- It's your call if you want whole crunchy pepitas in your tamales or if you want them as just a flavor element. I grind mine in a spice grinder. You can chop them as a happy medium.
- Once you have your dough, mix in the chopped chaya, green chile powder and the pepitas.
- Take a corn husk and place the skinny end facing you. Put some of the masa in the center of the husk and enclose it with the husk, twisting the ends like an old fashioned candy wrapper. Tie each end with one of the corn husk strips.
- Get a large pot with a vegetable steamer set inside, or use a tamale pot if you have one. Fill up enough of the corn husk soaking water to come up to the level of the steamer, but not above it. Set each finished tamal in the steamer.
- When you are done, bring the water in the pot to a boil, cover the pot and steam the tamales for 1 hour. Let them set a good 10 minutes or so before serving them with the salsa of your choice. Cheese, cilantro and pickled red onions are all good accompaniments.
Notes
Keys to Success
- Don’t skimp on the lard. It’s there to keep things moist. Lean tamales taste like bad cornbread.
- If you want to, you can add little spoonfuls of filling to these tamales. Traditional is simply chopped boiled eggs. Don’t go overboard here, as the chaya is the star.
- An authentic and simple sauce is simply to cook some onions and garlic in lard or oil, add as many habaneros as you can stand, and puree this with a can of crushed tomatoes. Salt to taste and you’re done.
- Got leftovers? Don’t re-steam them. Heat up a griddle or comal or grill and heat the tamales up directly on the heat, still in the husks. They are done when the husk is about half charred.
- Tamales, once cooked, freeze very well.
Nutrition
Nutrition information is automatically calculated, so should only be used as an approximation.


oh love this plant! I live in the tropics and it’s part of my food forest. I had it tonight, along with sweet potato leaves, simmered in coconut milk, garlic, ginger, peppers, onion, salt, pepper, coriander. so ono!
Ms. Everson said, “…one of my favorites from Yucatan was in a licuado. I think they mixed it with pineapple juice. So good.” I just wanted to second that emotion! My family and I were in Piste’ and went to a restaurant owned by a Mayan family. (How cool is that?!) They really wanted us to try the chaya / pineapple drink that they whipped up in the blender (with ice, I’m sure – took a chance there.) In any event, we were all hooked and we now have four year-old plants that we grew from cuttings. As someone said, they were slow to start, but they are in containers on our porch for the winter (North Texas), completely neglected, and look like they are super-happy. I think we’ll be in high chaya this year.
Thank you for the recipes and the great article!
David Dunaway,
Gilmer, Texas
I love Chaya, and grow it in full sun in Coastal Southern Ca. I spent some time in the Yucatan several years ago and fell in love with chaya. I’ve had it most of the ways you listed, but one of my favorites from Yucatan was in a licuado. I think they mixed it with pineapple juice. So good.
Stephanie: That’s a cool idea! I’ll give it a try.
I’m sold! Your garden to table articles are my favorite as I try to piece together some zone 9 south texas edibles with three little humans underfoot. Thank you!
I grew Chaya in south Florida and loved it. It maintains its crunch even after a long cooking and is a rich, deep green. However, it can cause impotency if eaten in large quantities and too often. When I moved to Costa Rica, I learned that there is Chaya and there is Chiquisquil. The Chiquisquil is deeper lobed and does not sting, this according to the locals. What I have planted is not Chaya, they insisted, it is Chiquisquil. So there is another rabbit hole I am going down because documentation does not exist here. I thought you might find that interesting.