As an Amazon Associate I earn from qualifying purchases.
Cardoons are slowly becoming more common in markets here in the United States, which is great. Because I’ve been growing cardoons in my yard for close to two decades. Here’s what I know about growing, prepping and cooking cardoons.
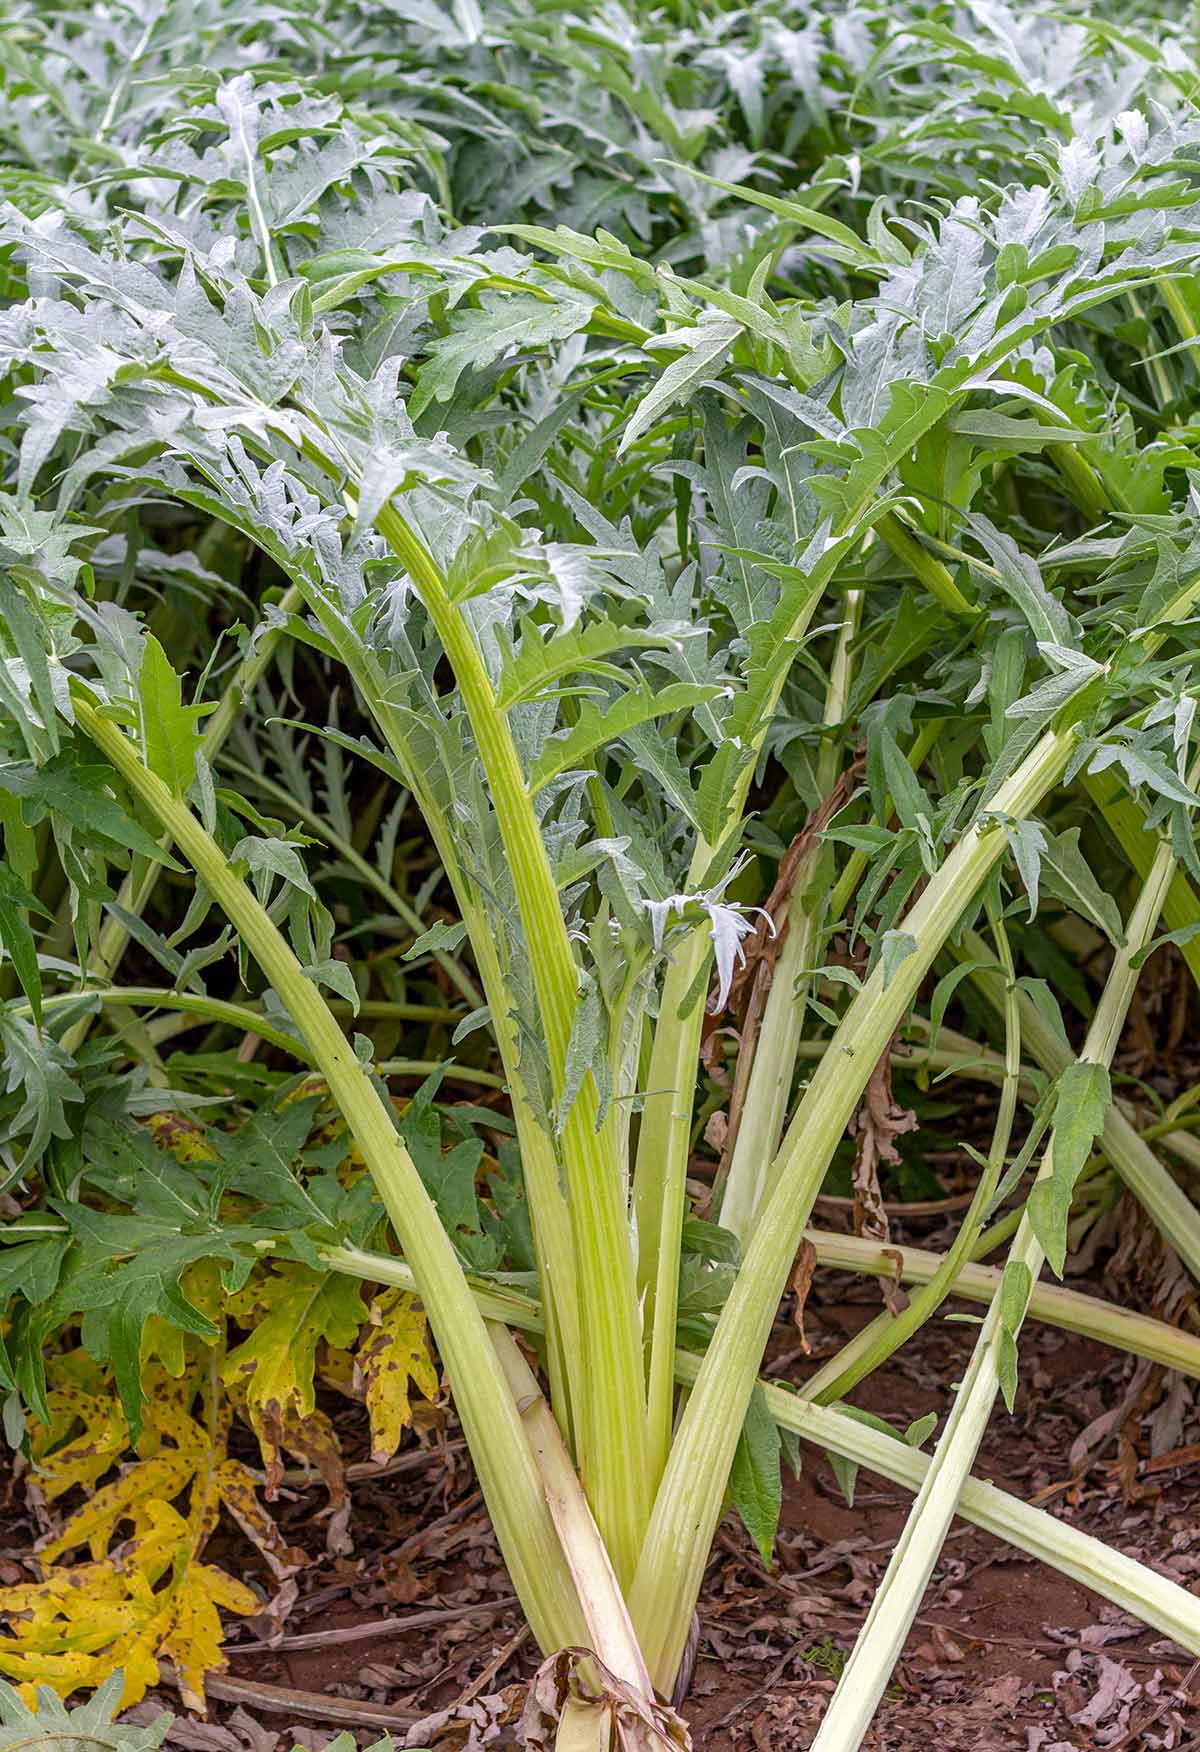
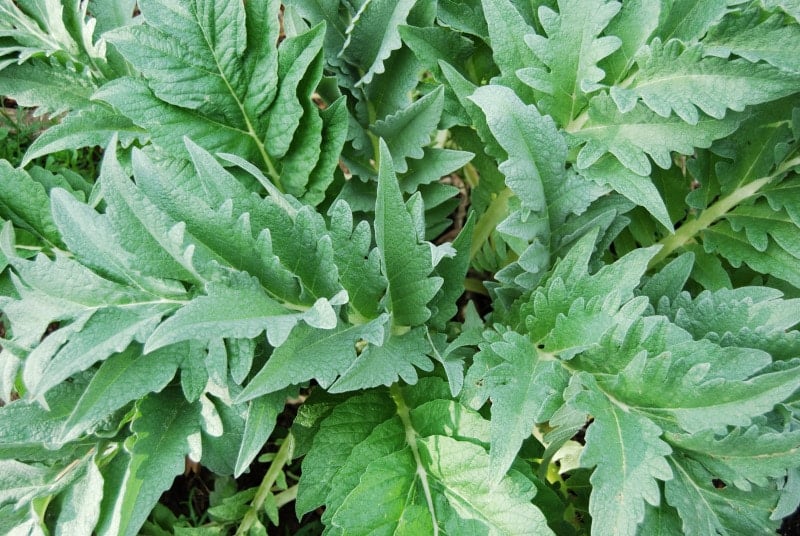
For those of you thinking, “What is a cardoon?” know that Cynara cardunculus is a relative of the artichoke; it’s a giant thistle.
At some point in the ancient world, gardeners gathered and domesticated the wild cardoons that grow all over the Mediterranean. Botanists believe those gardeners began their work on the artichoke, as the ancients really wanted larger, less thistly flower buds to eat with olive oil and garum. Understandable.
As for the cardoon, it is the stalk you eat. And wild cardoon stalks were only marginally tougher and spinier than the first domestic ones — or so the botanists reckon. Then around the Dark Ages someone decided they wanted to improve those stalks, which have the texture of celery but a flavor something like an echo of artichoke hearts.
So they bred the wild plant to be less spiny and to grow wider stalks. Thus the modern cardoon.
Growing Cardoons
It is a good thing that growing a cardoon plant is a low-maintenance endeavor. They easily grow from seed — I got my cardoon seed from Seeds from Italy — and they are perennial up to Zone 7, and really Zone 6 if you cut them to the ground and heap straw over the crowns in fall.
If you want to grow cardoon plants, know that you need 100 days from seed. If you don’t have that, you’re out of luck.
Here in Sacramento, Zone 9, they are, um, prolific. A weed, actually. You can see them wild all over the Sacramento-San Joaquin Delta, and mine regrow year after year after year. I literally have only planted them once, back in about 2005.
I cut them to the ground around Halloween, then they regrow like a phoenix. By late winter, they are lush, and the cool climate is perfect to harvest cardoons. Cardoon plants grow all summer, but once your temperatures hit about 70°F consistently, they get impossibly bitter. They will mellow out again once the weather cools in fall.
Harvesting Cardoons
Super easy. Use a big knife to slice them off at the ground, chop off the top leafy portion, then pull away the outer layers of leaf stalks, which will be punky, hollow and super bitter. What you want is the core.
It’s like celery, if you’ve ever grown that. The outer stalks are greener, more aromatic and more bitter than then hearts of celery. Cardoon plants are the same. Look for stalks that are tight, and that have a bloom on them, like the bloom on grapes or plums.
Another trick some people use is to wrap their cardoons for a couple weeks. They will wrap them in burlap or heavy paper or plastic, then twine. This hides the inner stalks from sunlight, so they whiten and are less bitter. I’ve done this, and it works, but no need in my yard. I have so many I can just use the natural inner stalks and compost the bitter outer ones.
Buying and Prepping
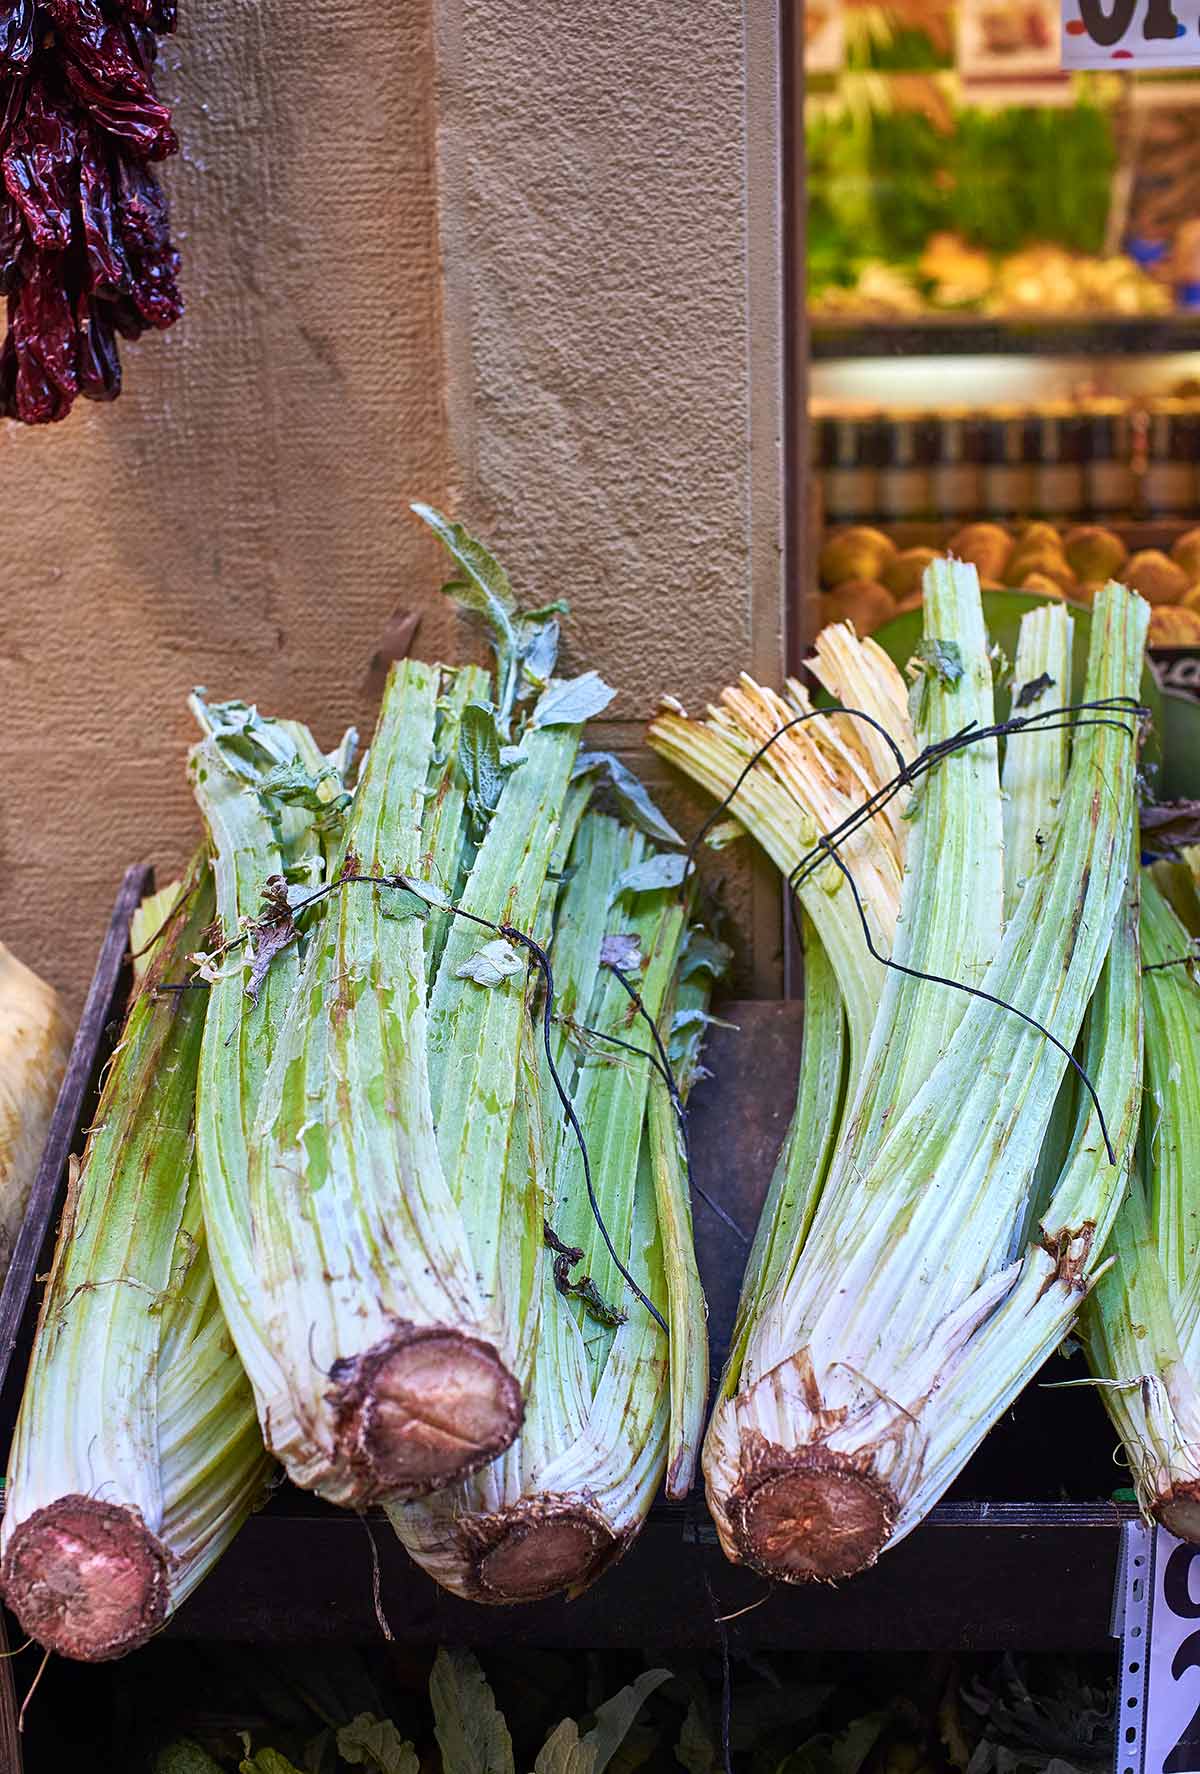
Most of you reading this will be buying cardoons in a store or farmer’s market. They are a winter vegetable, usually arriving around December and sticking around until early spring.
Cardoons can keep for weeks in the fridge. You want to buy them firm and pale. Mostly the top leaves will be chopped off already, otherwise your cardoon stalks will be four feet long. Keep them as they are until you want to cook your cardoons.
Now that you have some, what do you do with them?
They do require some work to prepare: You need to trim the spines with a vegetable peeler, peel the fibers off the outside of the ribs, and then boil them for 30 minutes in salty water with the juice of a lemon before doing anything else to them. So yeah, you need to be in the mood for cardoons.
Cardoons also discolor when cut, so you will want a bowl of cold water with lemon juice in it handy as you cut your stalks into pieces you want to eat. It’s the same with artichokes.

Pretty much every cardoon recipe requires this initial trimming and blanching step. Once that’s done, you have lots of options. Here’s what I call the Canon of Cardoons:
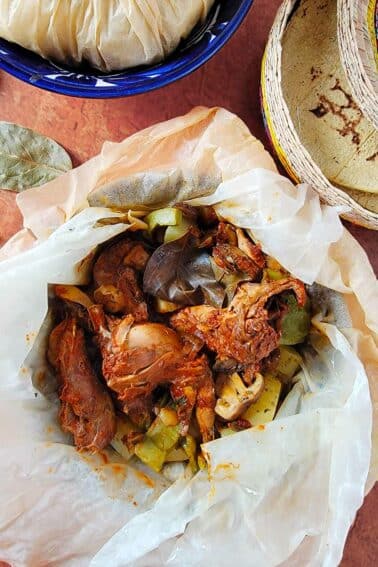
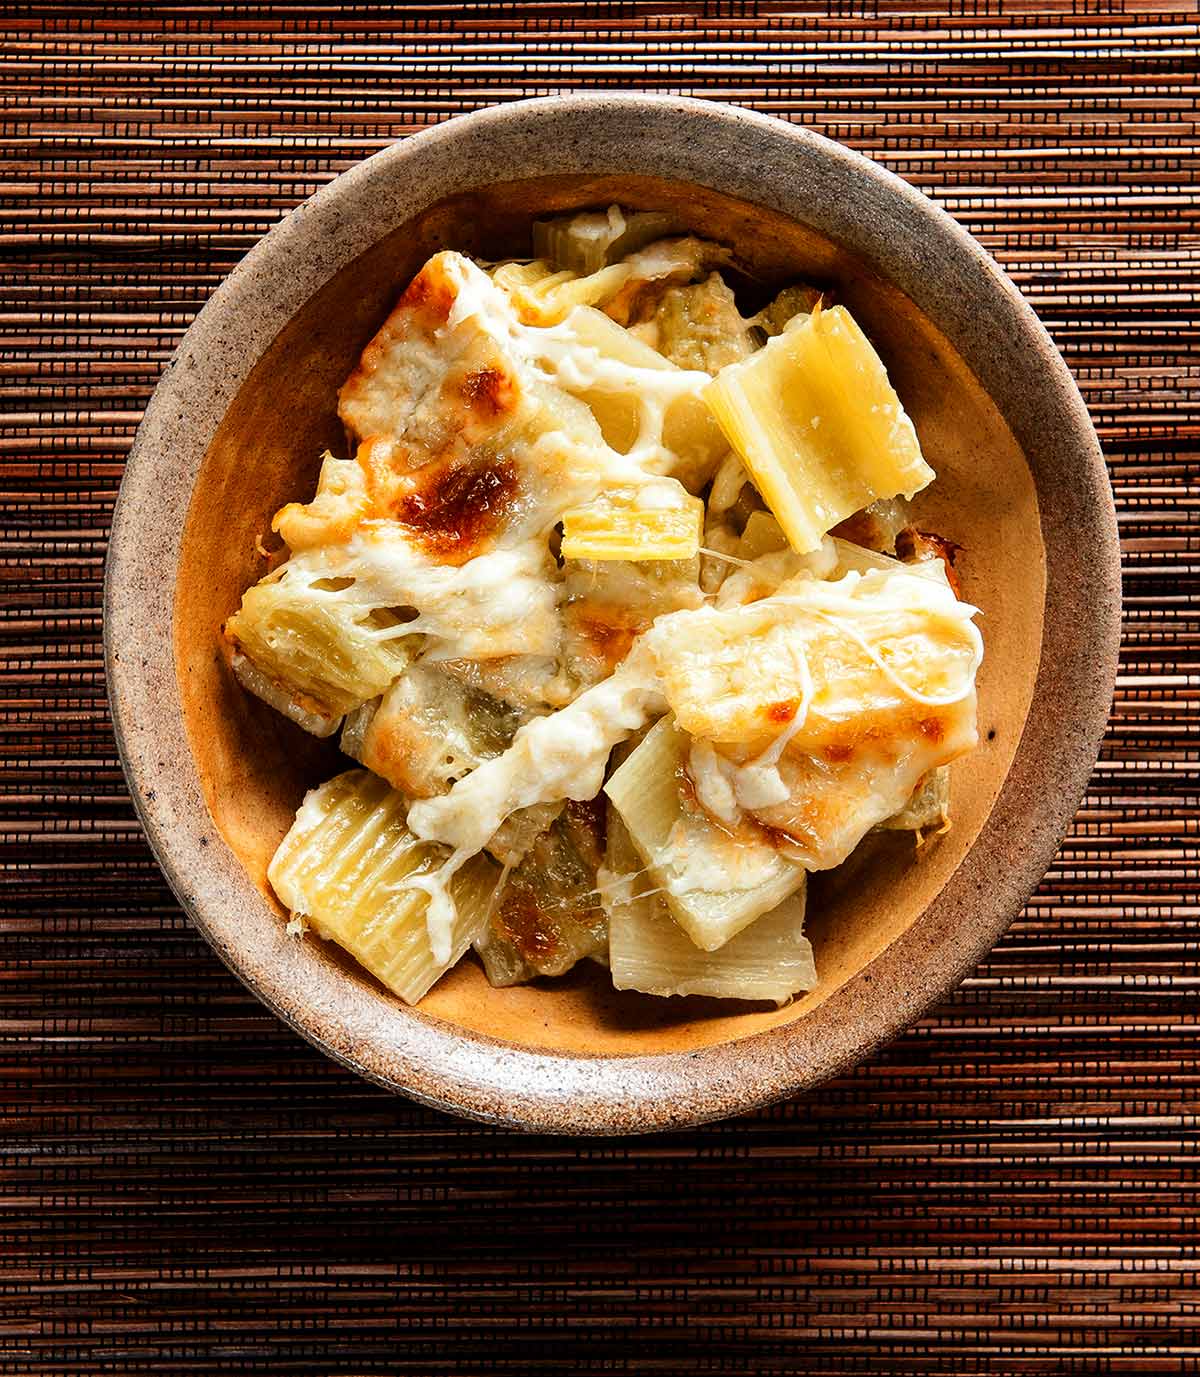
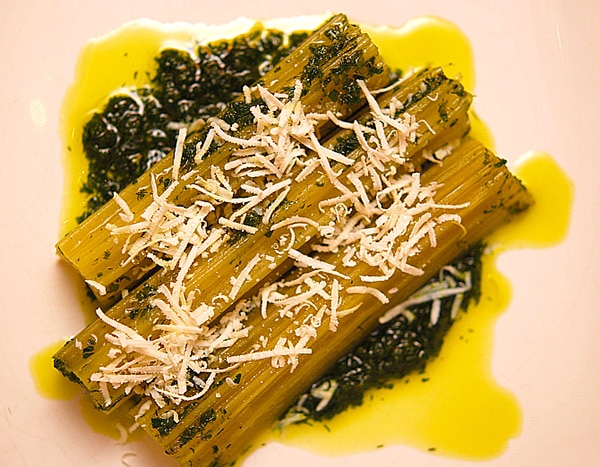
- Cardoons Gratin, in which they are baked with olive oil and cheese. Delicious and well worth making if you only plan to eat cardoons once in a great while; this recipe is Holly’s favorite.
- Cardoons in a bechamel sauce. Not being a fan of bechamel, I don’t make this preparation.
- Cardoon risotto. Silky, rich, and the slight bitterness of the cardoons really balances everything nicely.
- Blanched with the garlicky-anchovy sauce bagna cauda. Excellent as a canape.
- In a salad, tossed in a vinaigrette. Simple and good. Use only the innermost stalks, washed well and sliced thin.
- Fried. Another excellent if simple dish. An unusual appetizer, especially when you coat the cardoons in chickpea flour and fry with olive oil.
All of these dishes are excellent. But as my old co-worker would say in her best Parisian voice, “I am bored with your simple dishes.” Classics are classics for a reason, but there must be something more, yes?
As for me, I decided to use the bible: I wrote recently about an unusual book called The Flavor Bible, which offers long lists of flavors and ingredients that have been proven to go well together; I have begun developing recipes using these lists.![]() Now cardoons are esoteric enough to not appear in that book, but artichokes are. So I improvised.
Now cardoons are esoteric enough to not appear in that book, but artichokes are. So I improvised.
What I came up with was honeyed cardoons with pine nuts and thyme.
Damn good. Real damn good. Can’t-stop-eating-it good. Sweet, savory, meaty from the pine nuts, slightly crunchy with just a hint of saline bitterness from the cardoons and the dry Spanish sherry I used.
Another great way to eat cardoons is to brine pickle them: Submerge the inner stalks in a brine of 1/4 cup kosher salt to 1 quart of water for a week or three, and they will be lacto-fermented cardoons. Probably my favorite way to eat cardoons other than the gratin.
All of this is to say that cardoons are worth it. They do take some time to pre-prepare, but many things in life are worth a little work and some patience. There is really nothing quite like the flavor of this odd vegetable, and it happens to be very high (for a plant) in calcium, potassium, iron — and, as befitting the stalk of a thistle — fiber.
Honeyed Cardoons with Pine Nuts and Thyme
Ingredients
- 1 medium onion
- 1/2 pound cardoons
- 2 tablespoons olive oil
- 1/4 cup dry sherry, or white wine
- 2 tablespoons honey
- 1 tablespoon fresh thyme
- 1/4 cup toasted pine nuts
- Salt and black pepper
Instructions
- Trim the cardoons and boil them for 30 to 40 minutes in salty water with the juice of 2 lemons thrown in. This can be done up to a day ahead.
- Slice the cardoons into 1/2 inch pieces. Slice the onion into half-moons. Toast the pine nuts — watch them, as pine nuts go from toasted to burnt in a heartbeat.
- Heat the olive oil in a large sauté pan over medium-high heat. Sauté the onions with some salt until just beginning to brown on the edges. Add some salt. Add in the cardoons and stir to combine. Let this cook for a minute or two.
- Add the dry sherry. If you don’t have dry sherry, use a dry white wine. Turn the heat up to high and boil it furiously. Add the honey and stir to combine. Add the pine nuts. Let this boil down to a glaze. Turn off the heat and toss in the thyme and add some fresh ground black pepper. Toss well to combine and serve at once.
Nutrition
Nutrition information is automatically calculated, so should only be used as an approximation.